


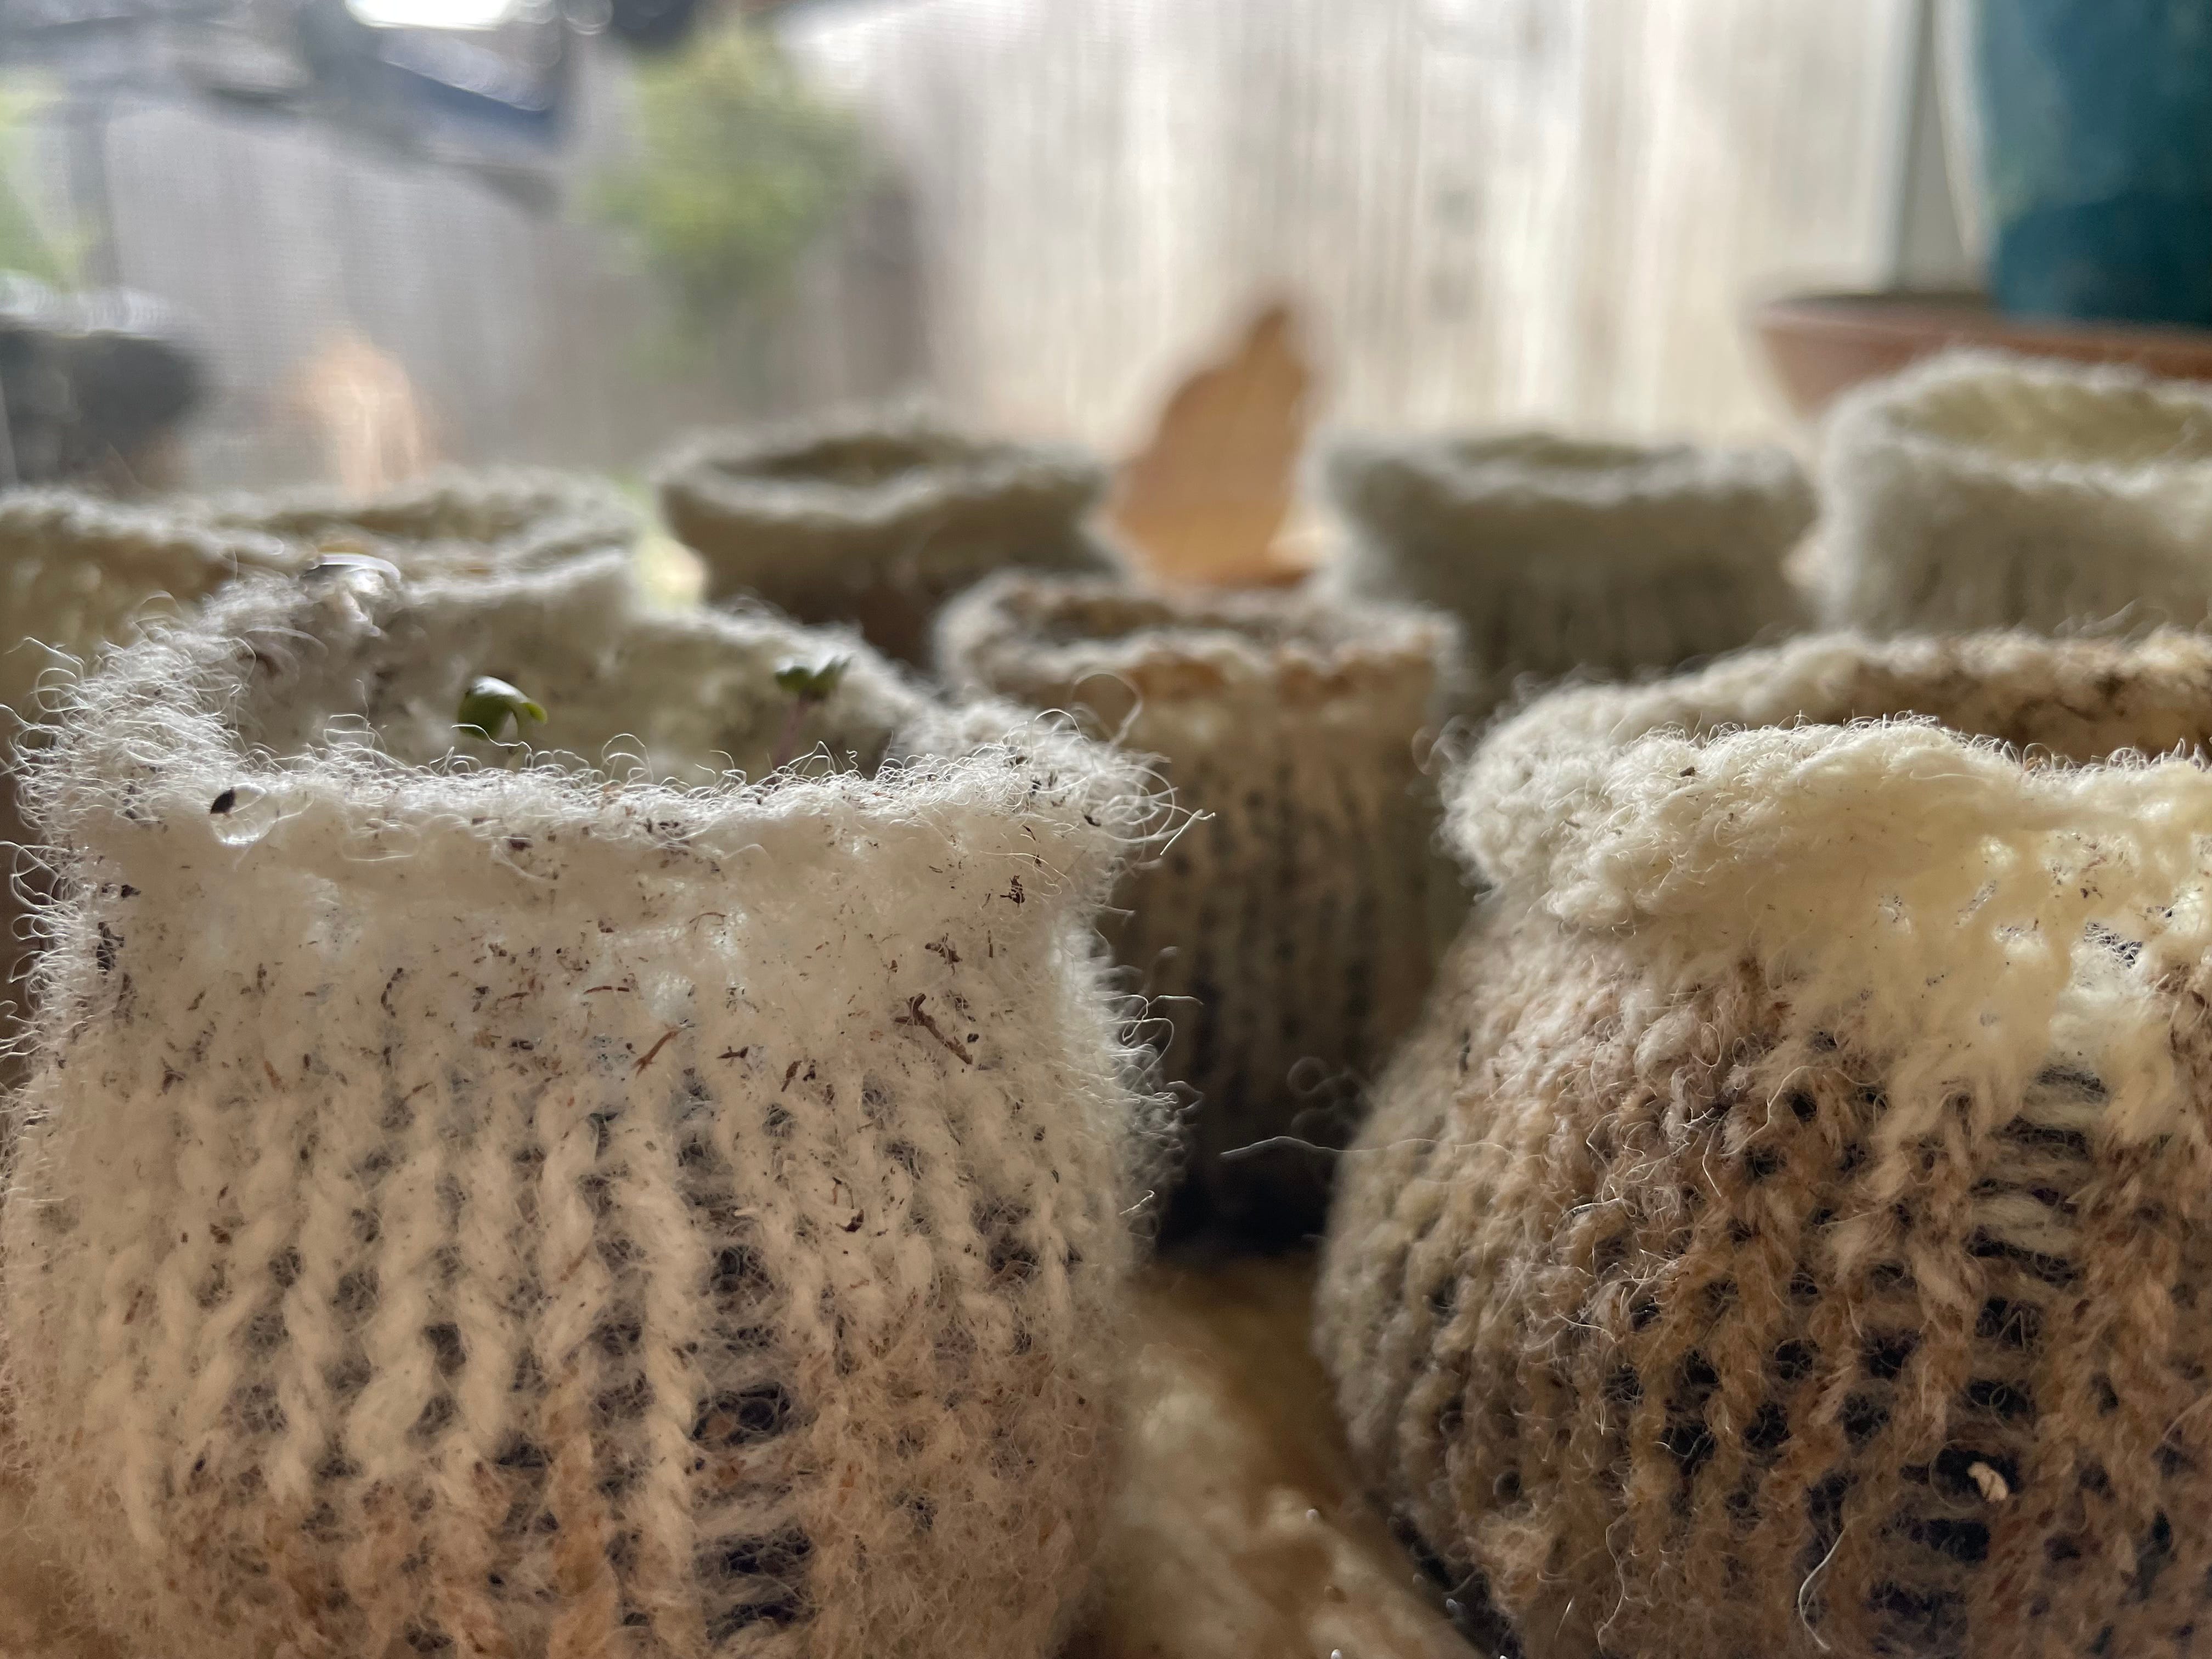
sprouts

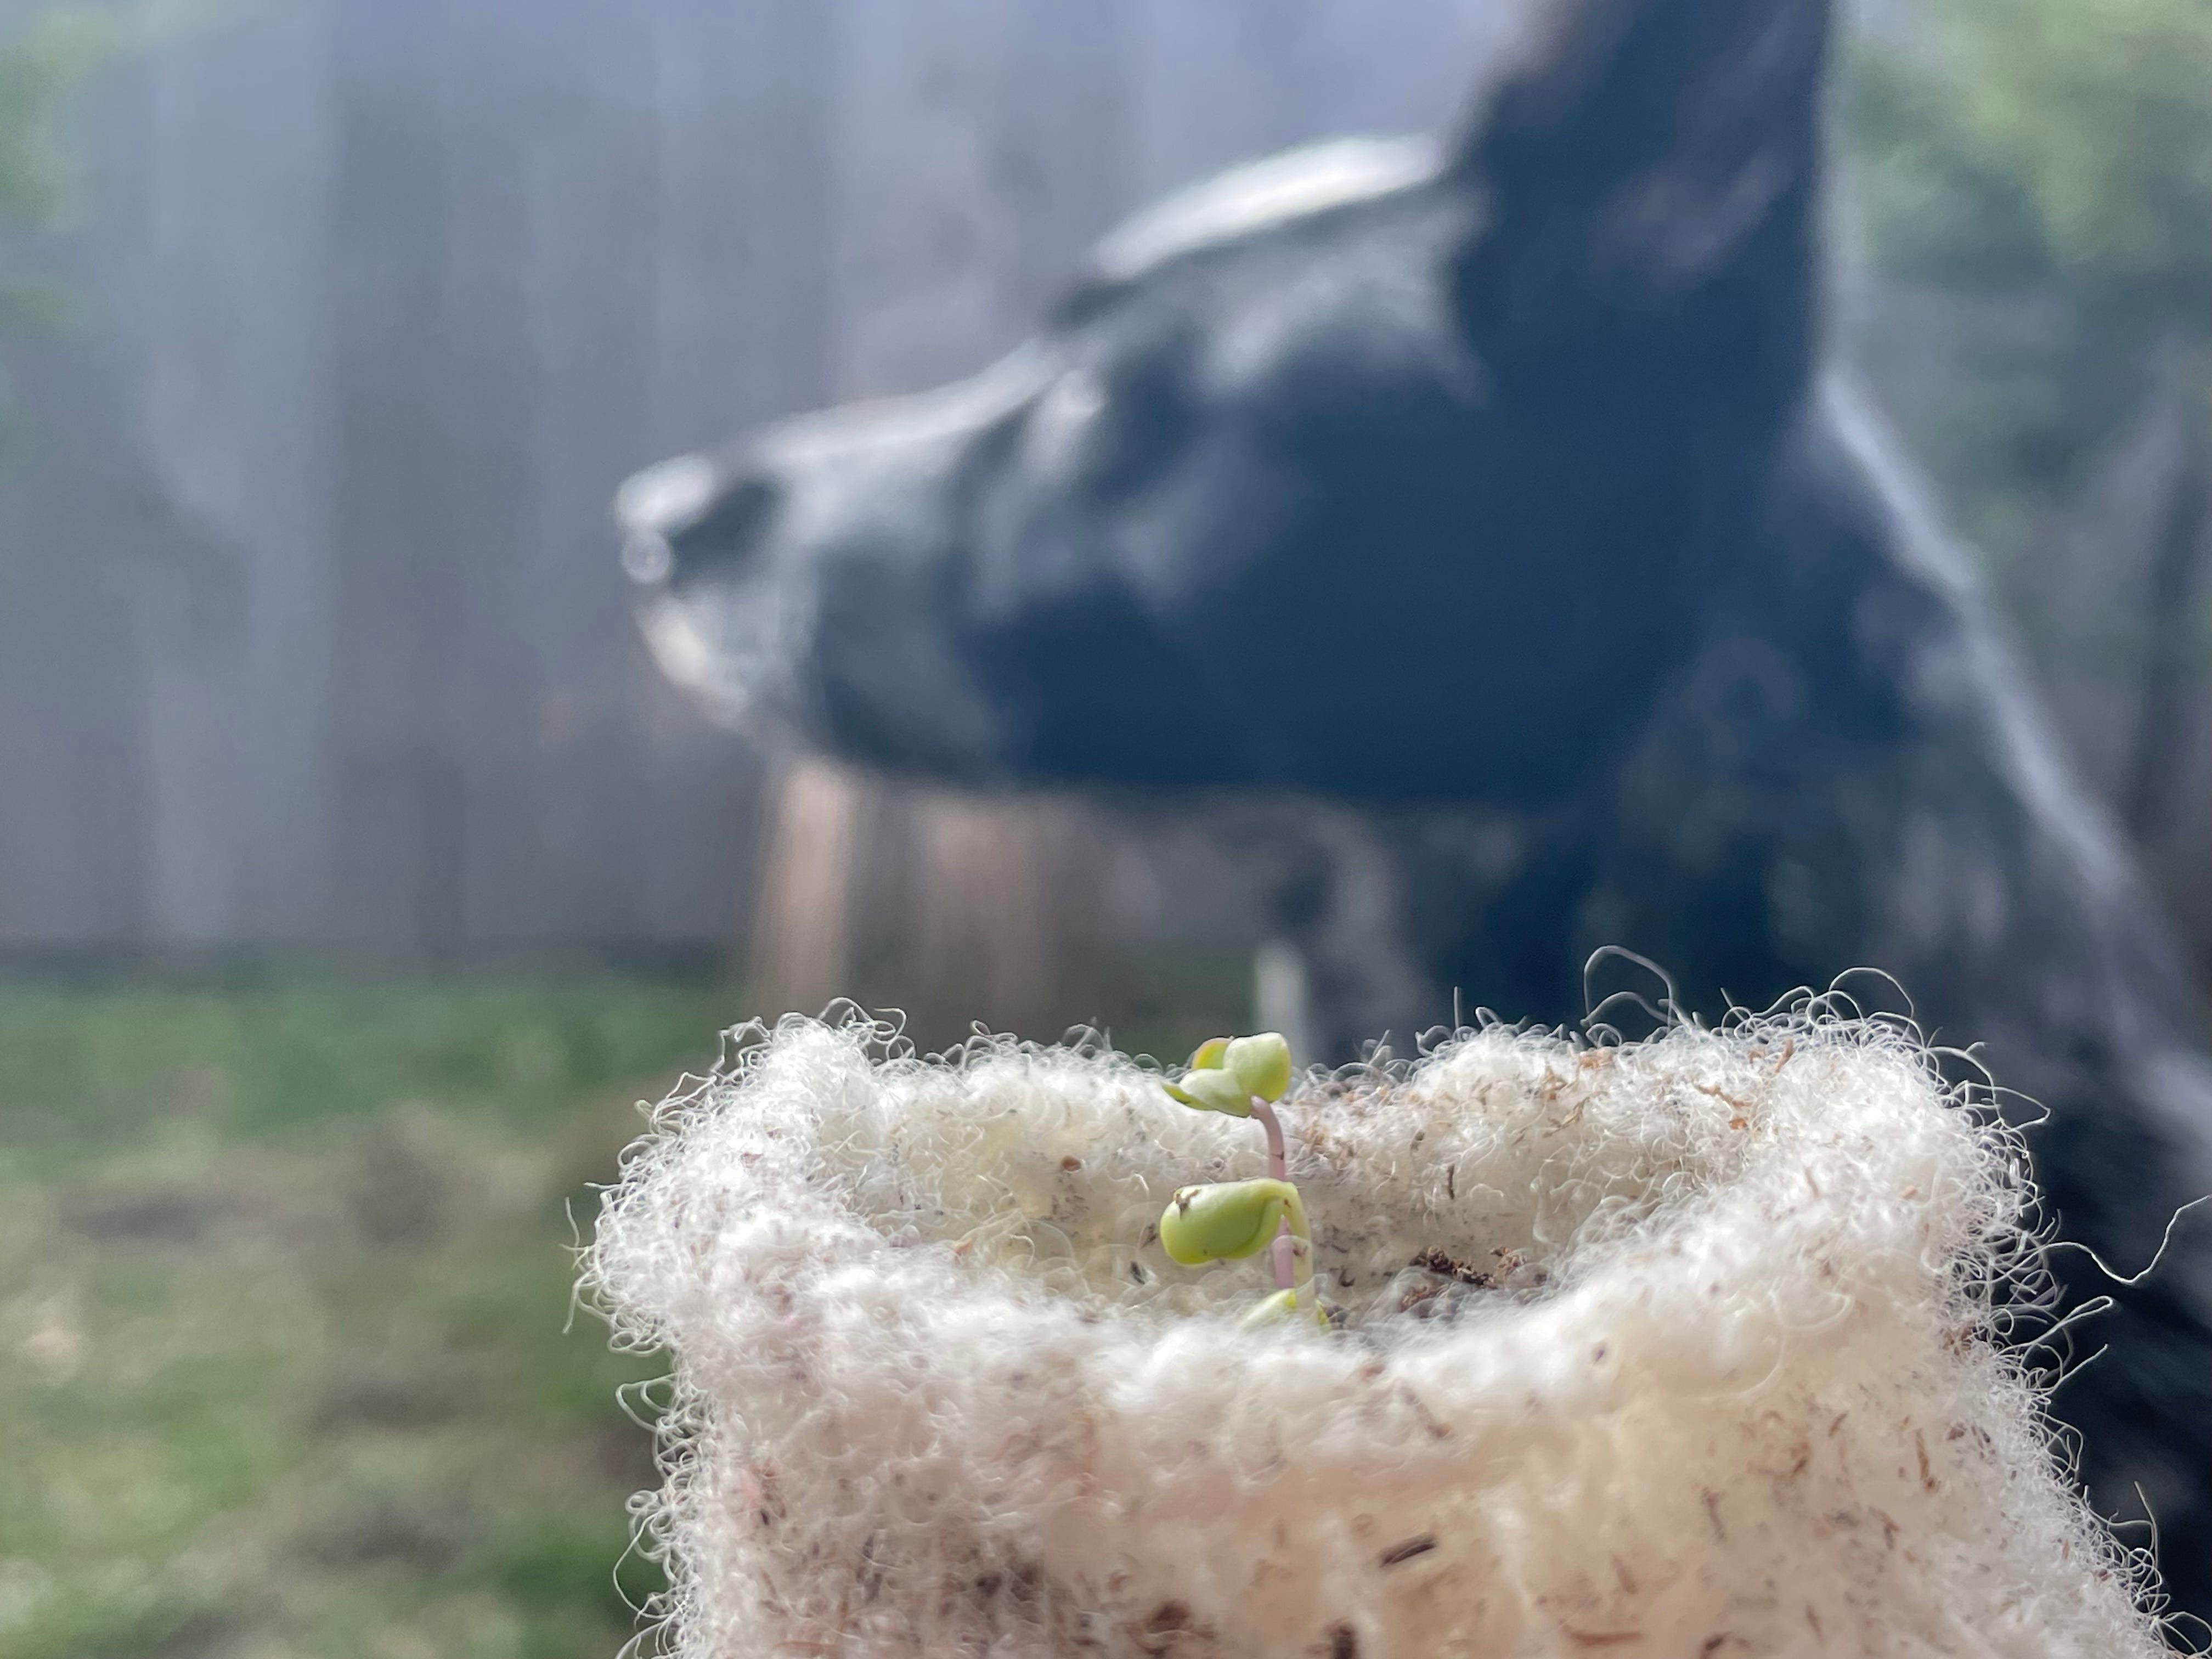
I don’t think Beryl is as into these tiny plants as I am.
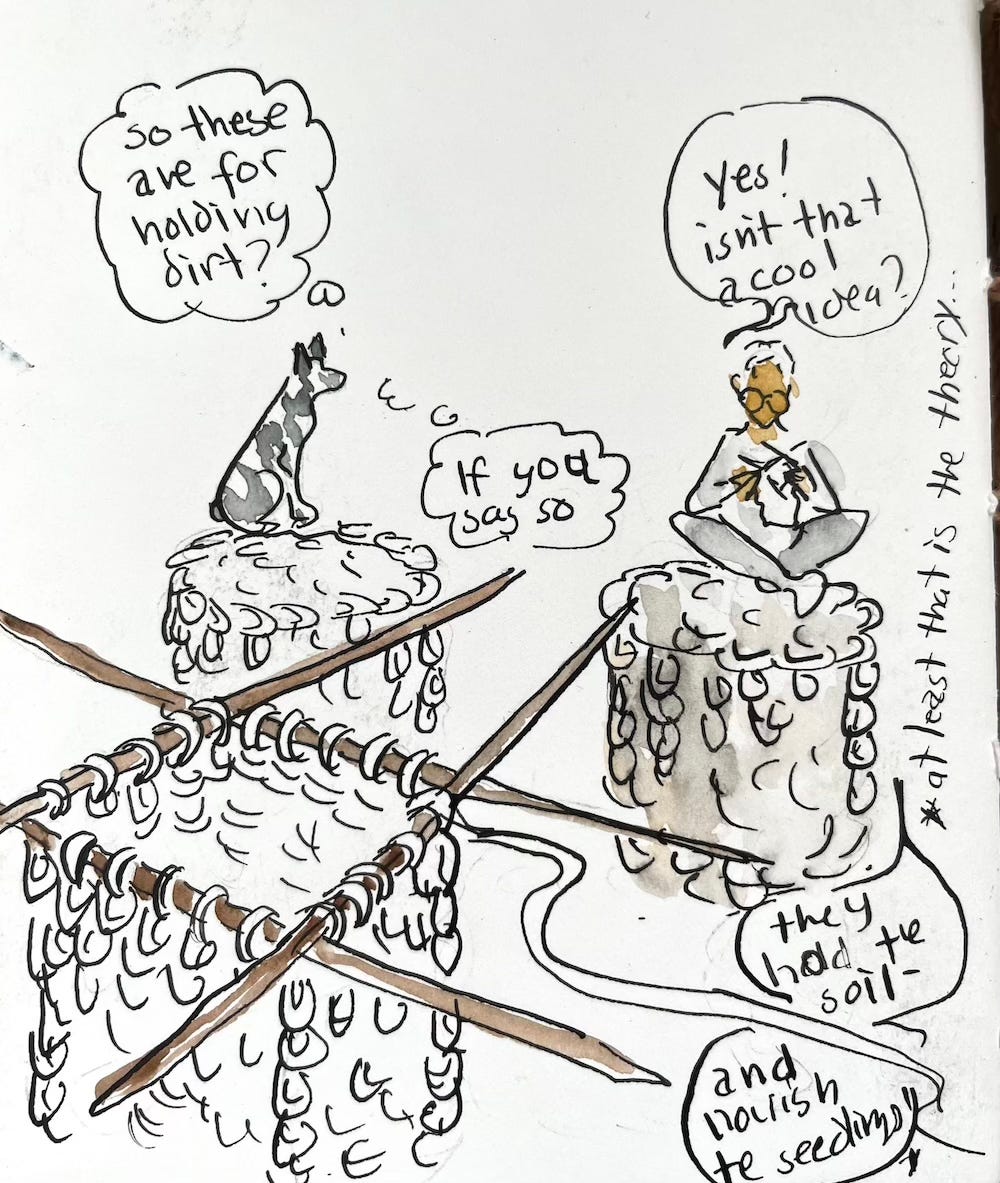
Nor is she as excited about the pots they’re planted in.
But I suppose that would be hard since I’m over the moon about both.1
It’s not like they are my first sprouts ever—
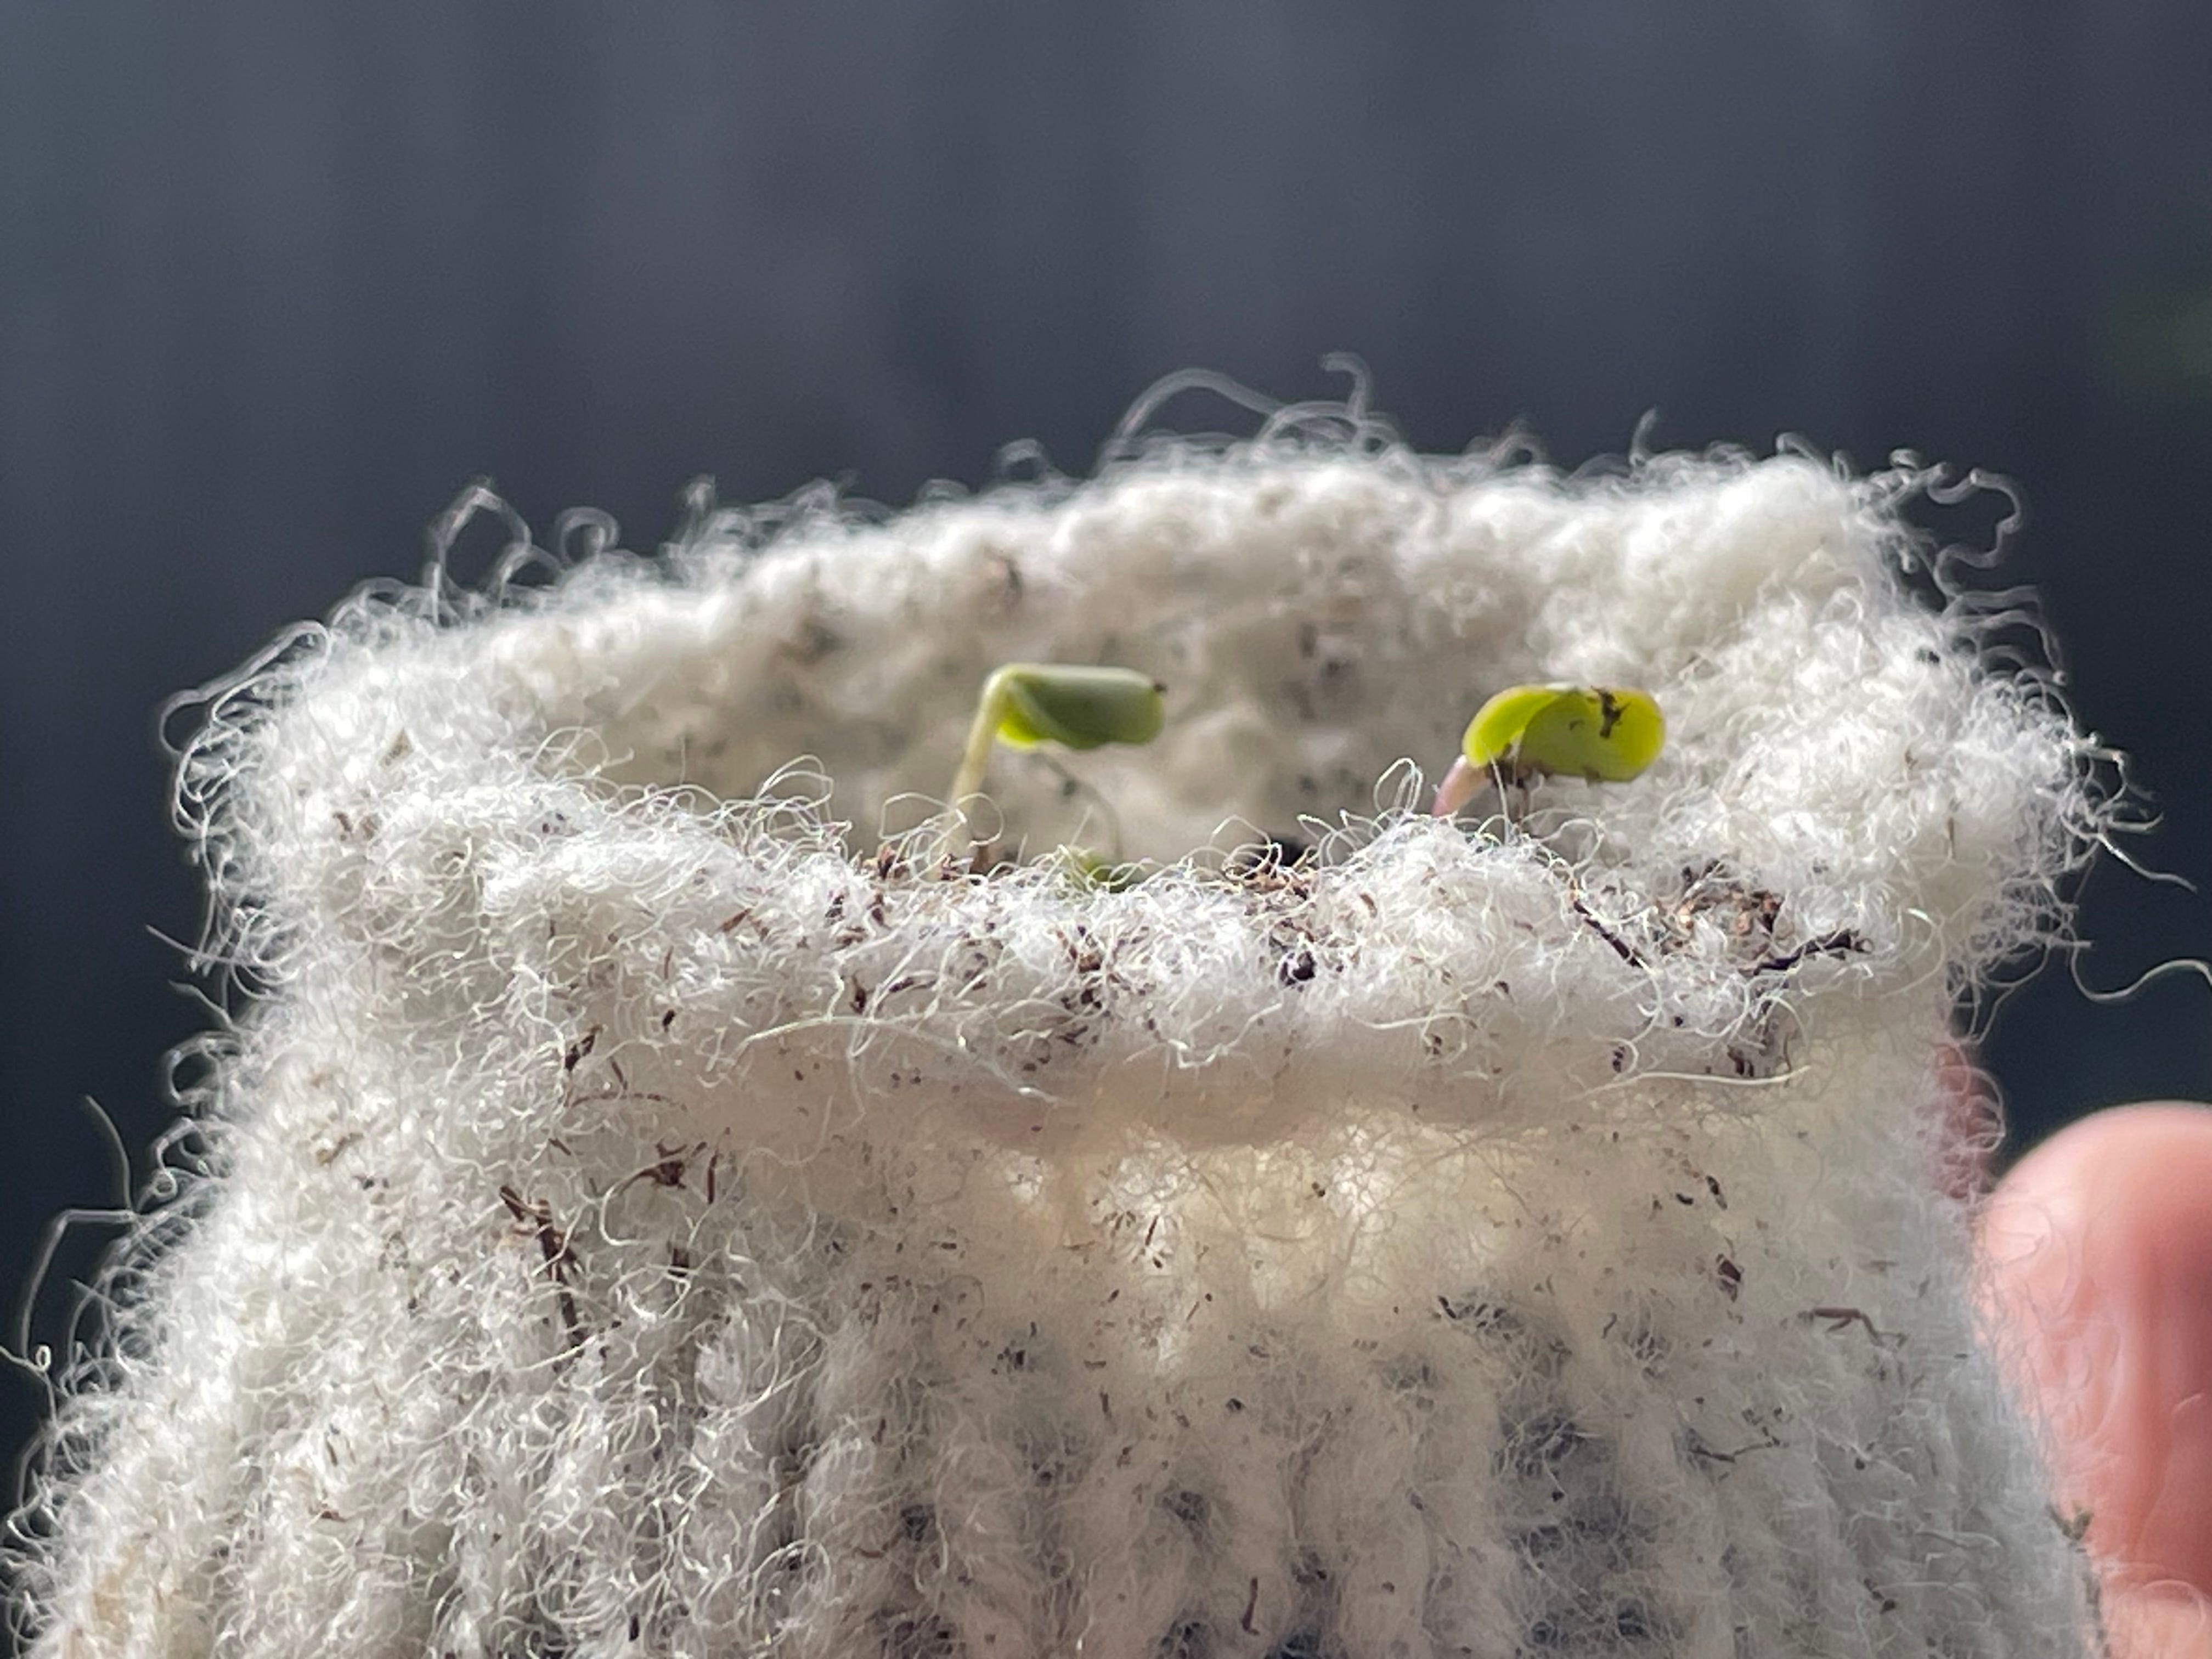
—but they are the first to grow in the new house—
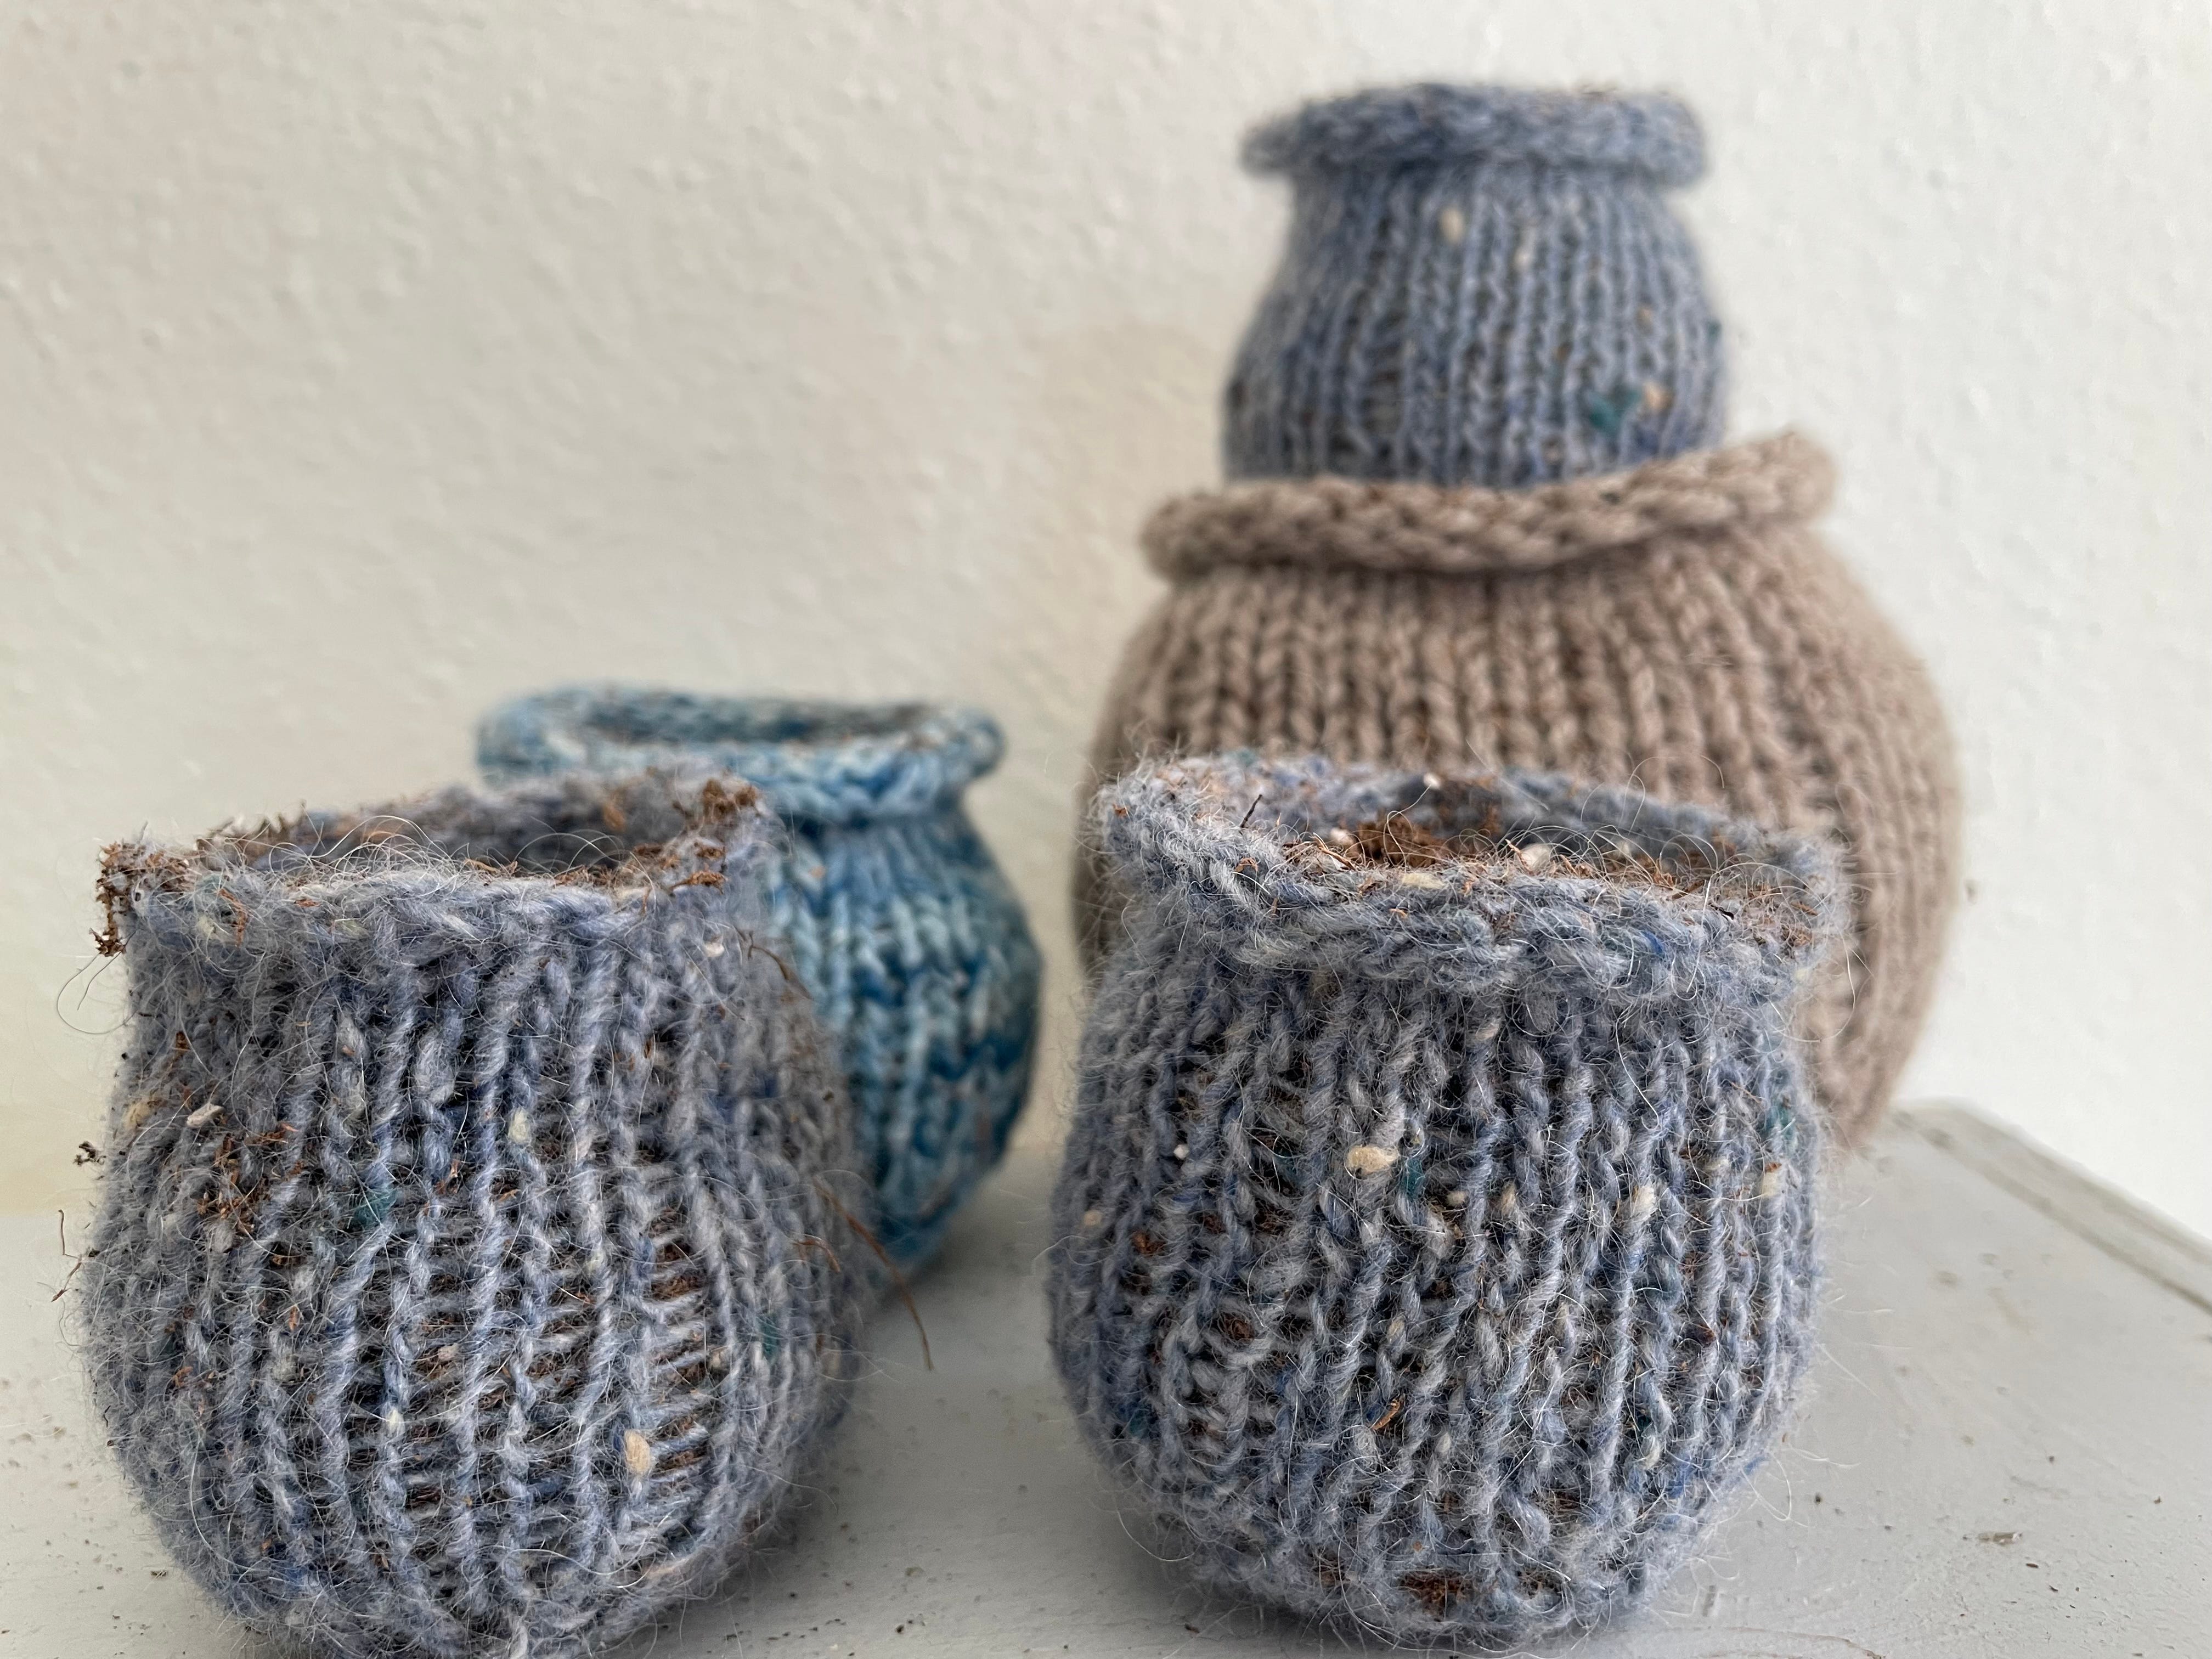
—and the first to grace my freshly knitted plant pots—
—and the combination is apparently hard to beat.2

While I’ve read about all the ways wool works as an efficacious soil amendment, and have often used leftover bits and skirtings for mulch,3 the idea of knitted wool planting pots only showed up in my world a month or so ago when Clara Parkes wrote about them on The Wool Wire.4
I was thoroughly smitten and instantly (or as instantly as a person in the midst of moving her entire life to a new place can mange), had to make one (some/several/many) to try, and this has proved to be so satisfying that like any fresh convert to a new idea she knows almost nothing about, I will now go on and on about what I’ve done so far (as with this sentence).5
How not?
They are easy and fun to make with odd bits of wool and require neither credit cards not shipping. 6
They’ll degrade in the soil and nourish the plants at the same time.
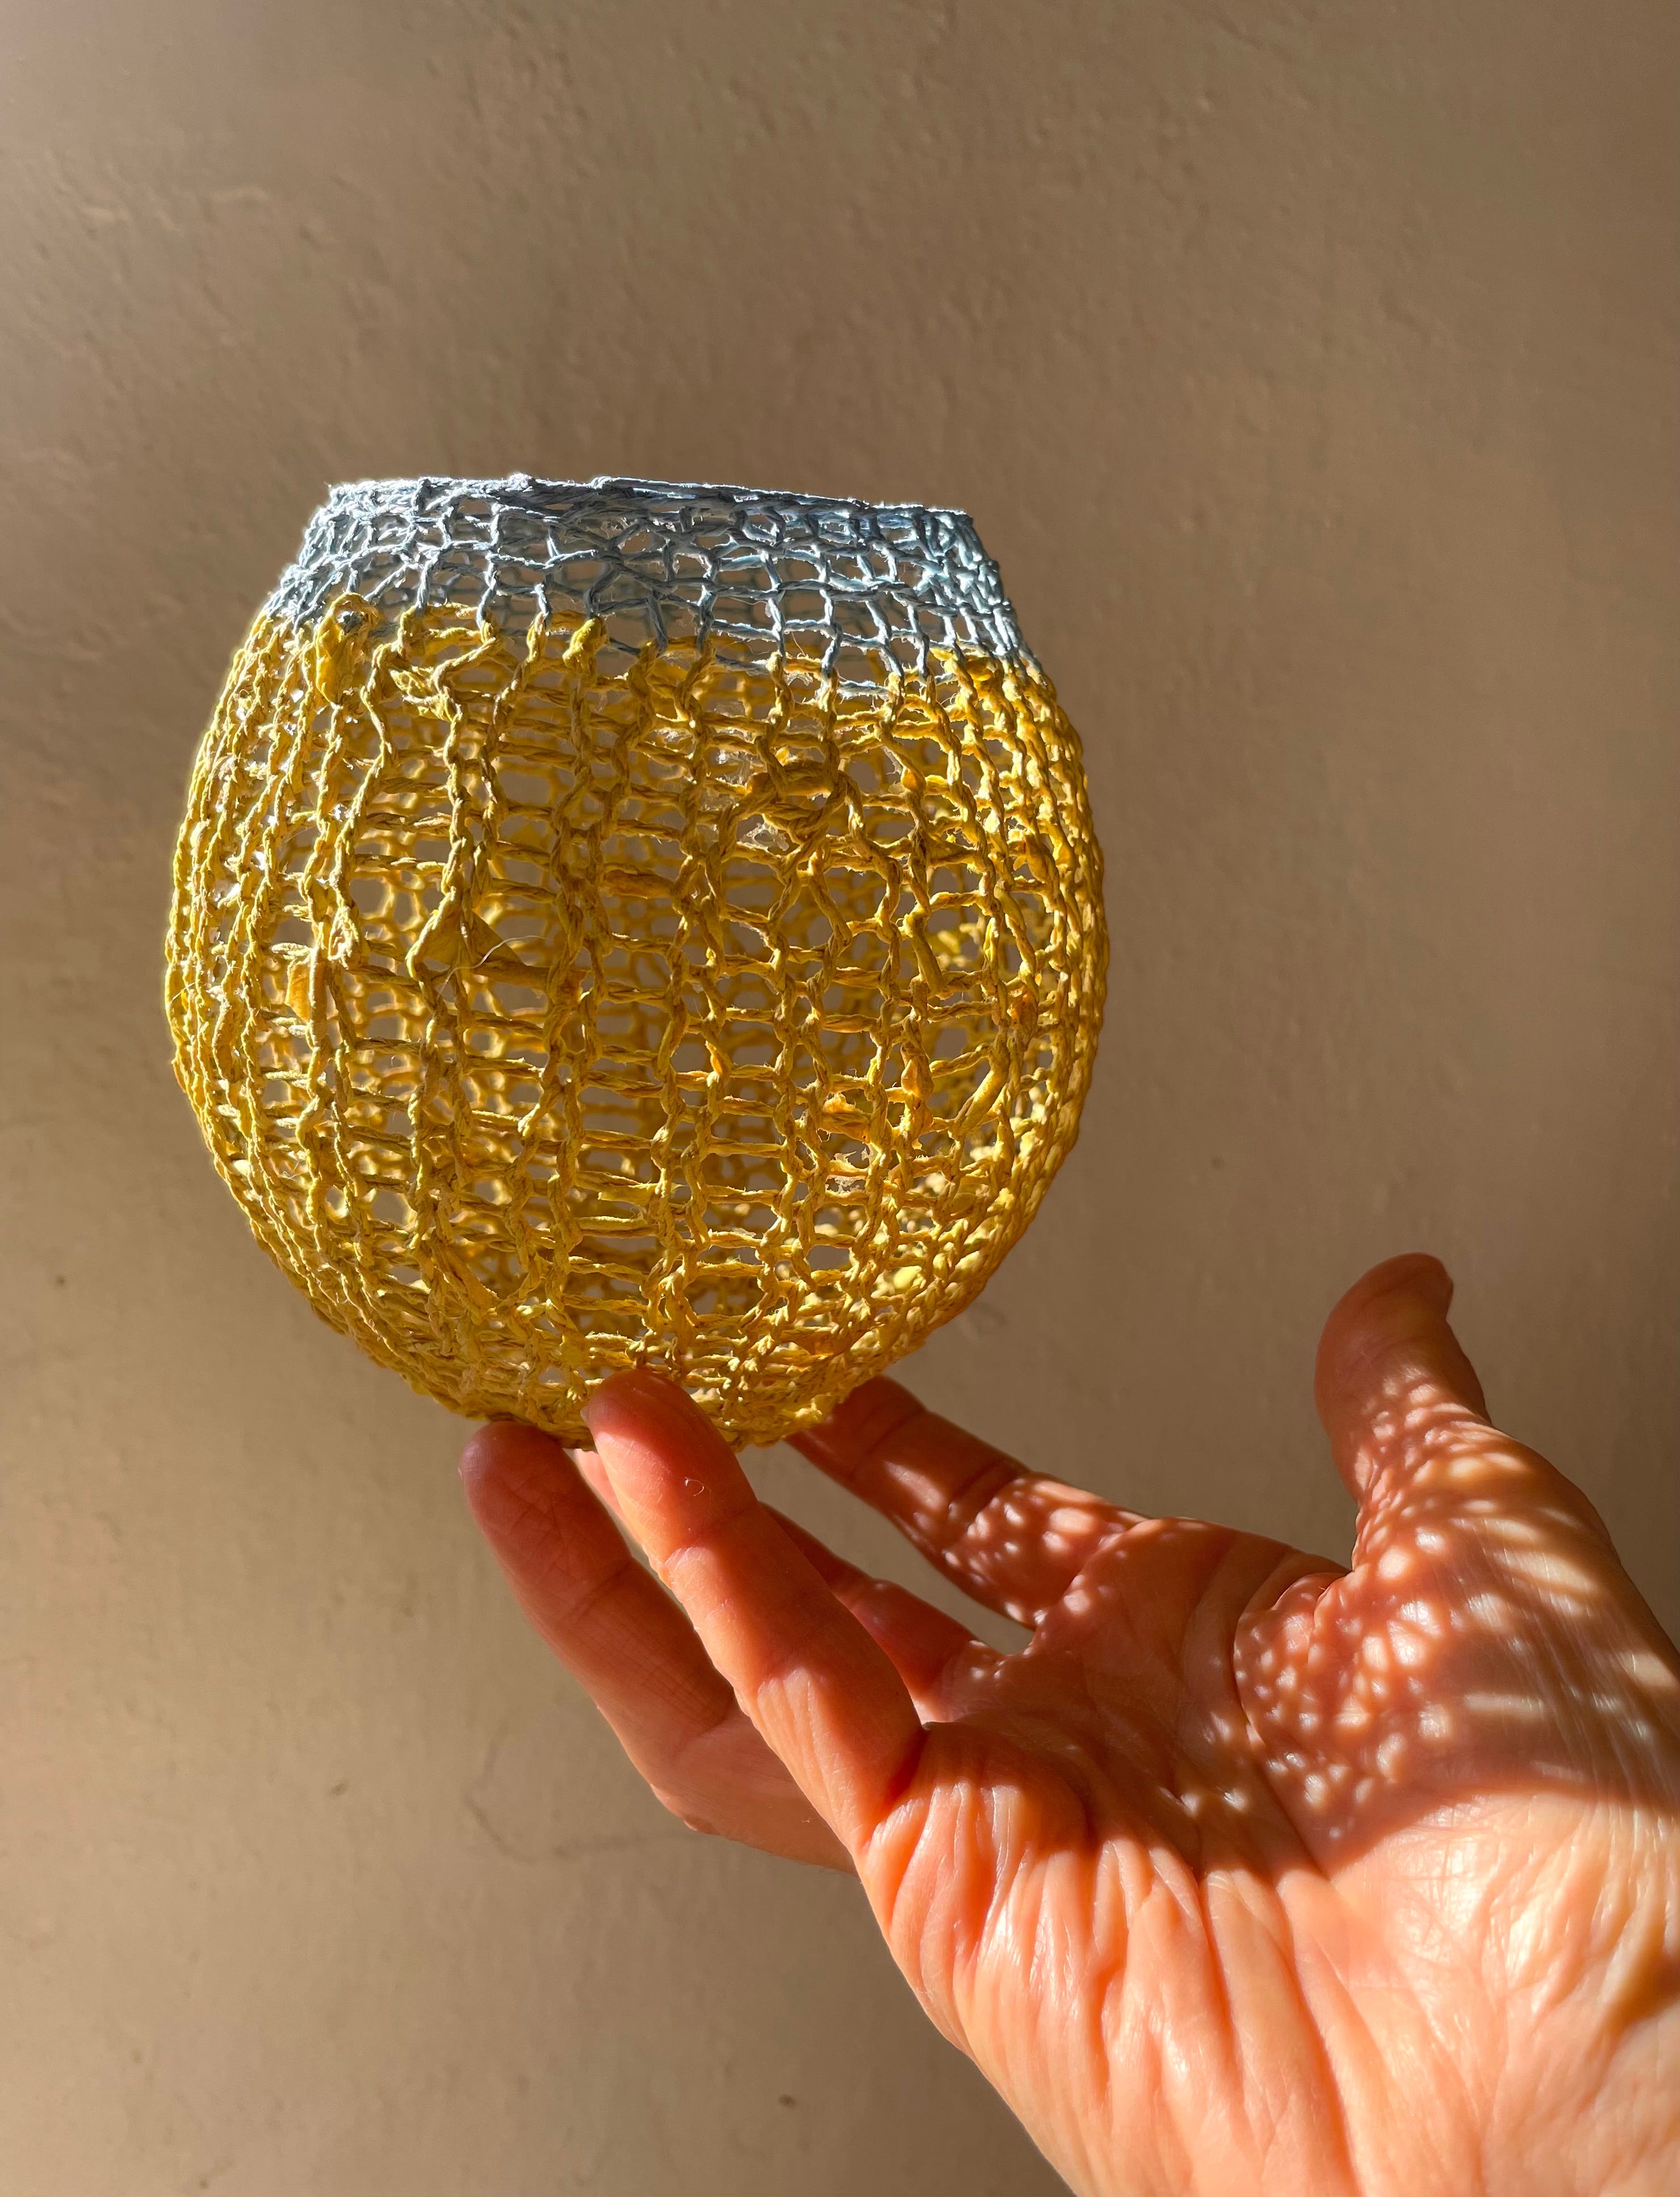
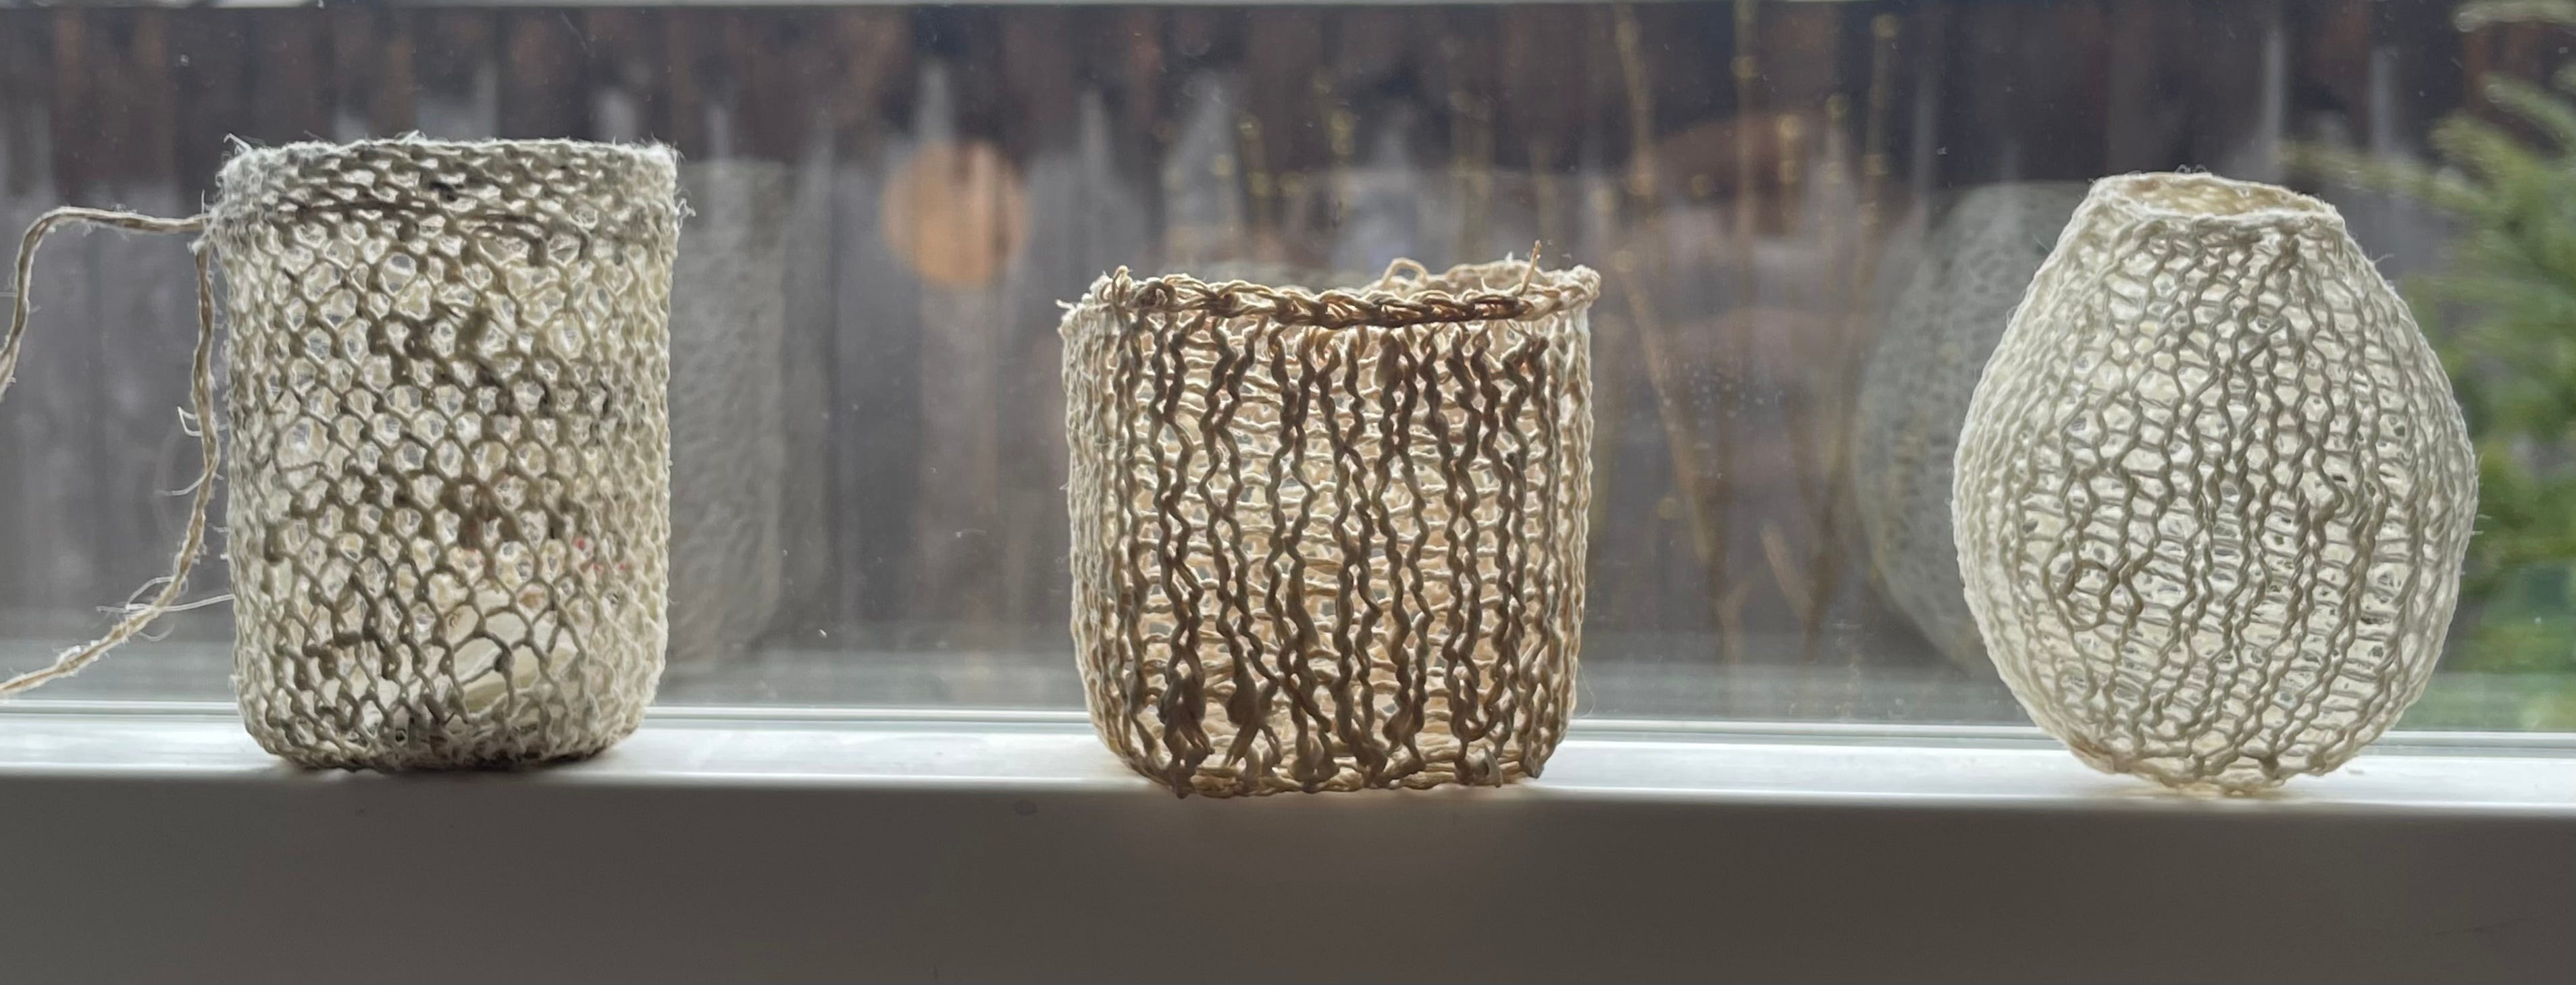
And unlike the bowls of light and air I couldn’t stop making a couple of years ago7 —


—the point is for them to vanish into the soil over the summer so I can enjoy them for a time yet never have to find the perfect place to put them long term (especially important in my new dwelling).
Yet the two are made the exact same way, if from different materials.8
Here’s how.


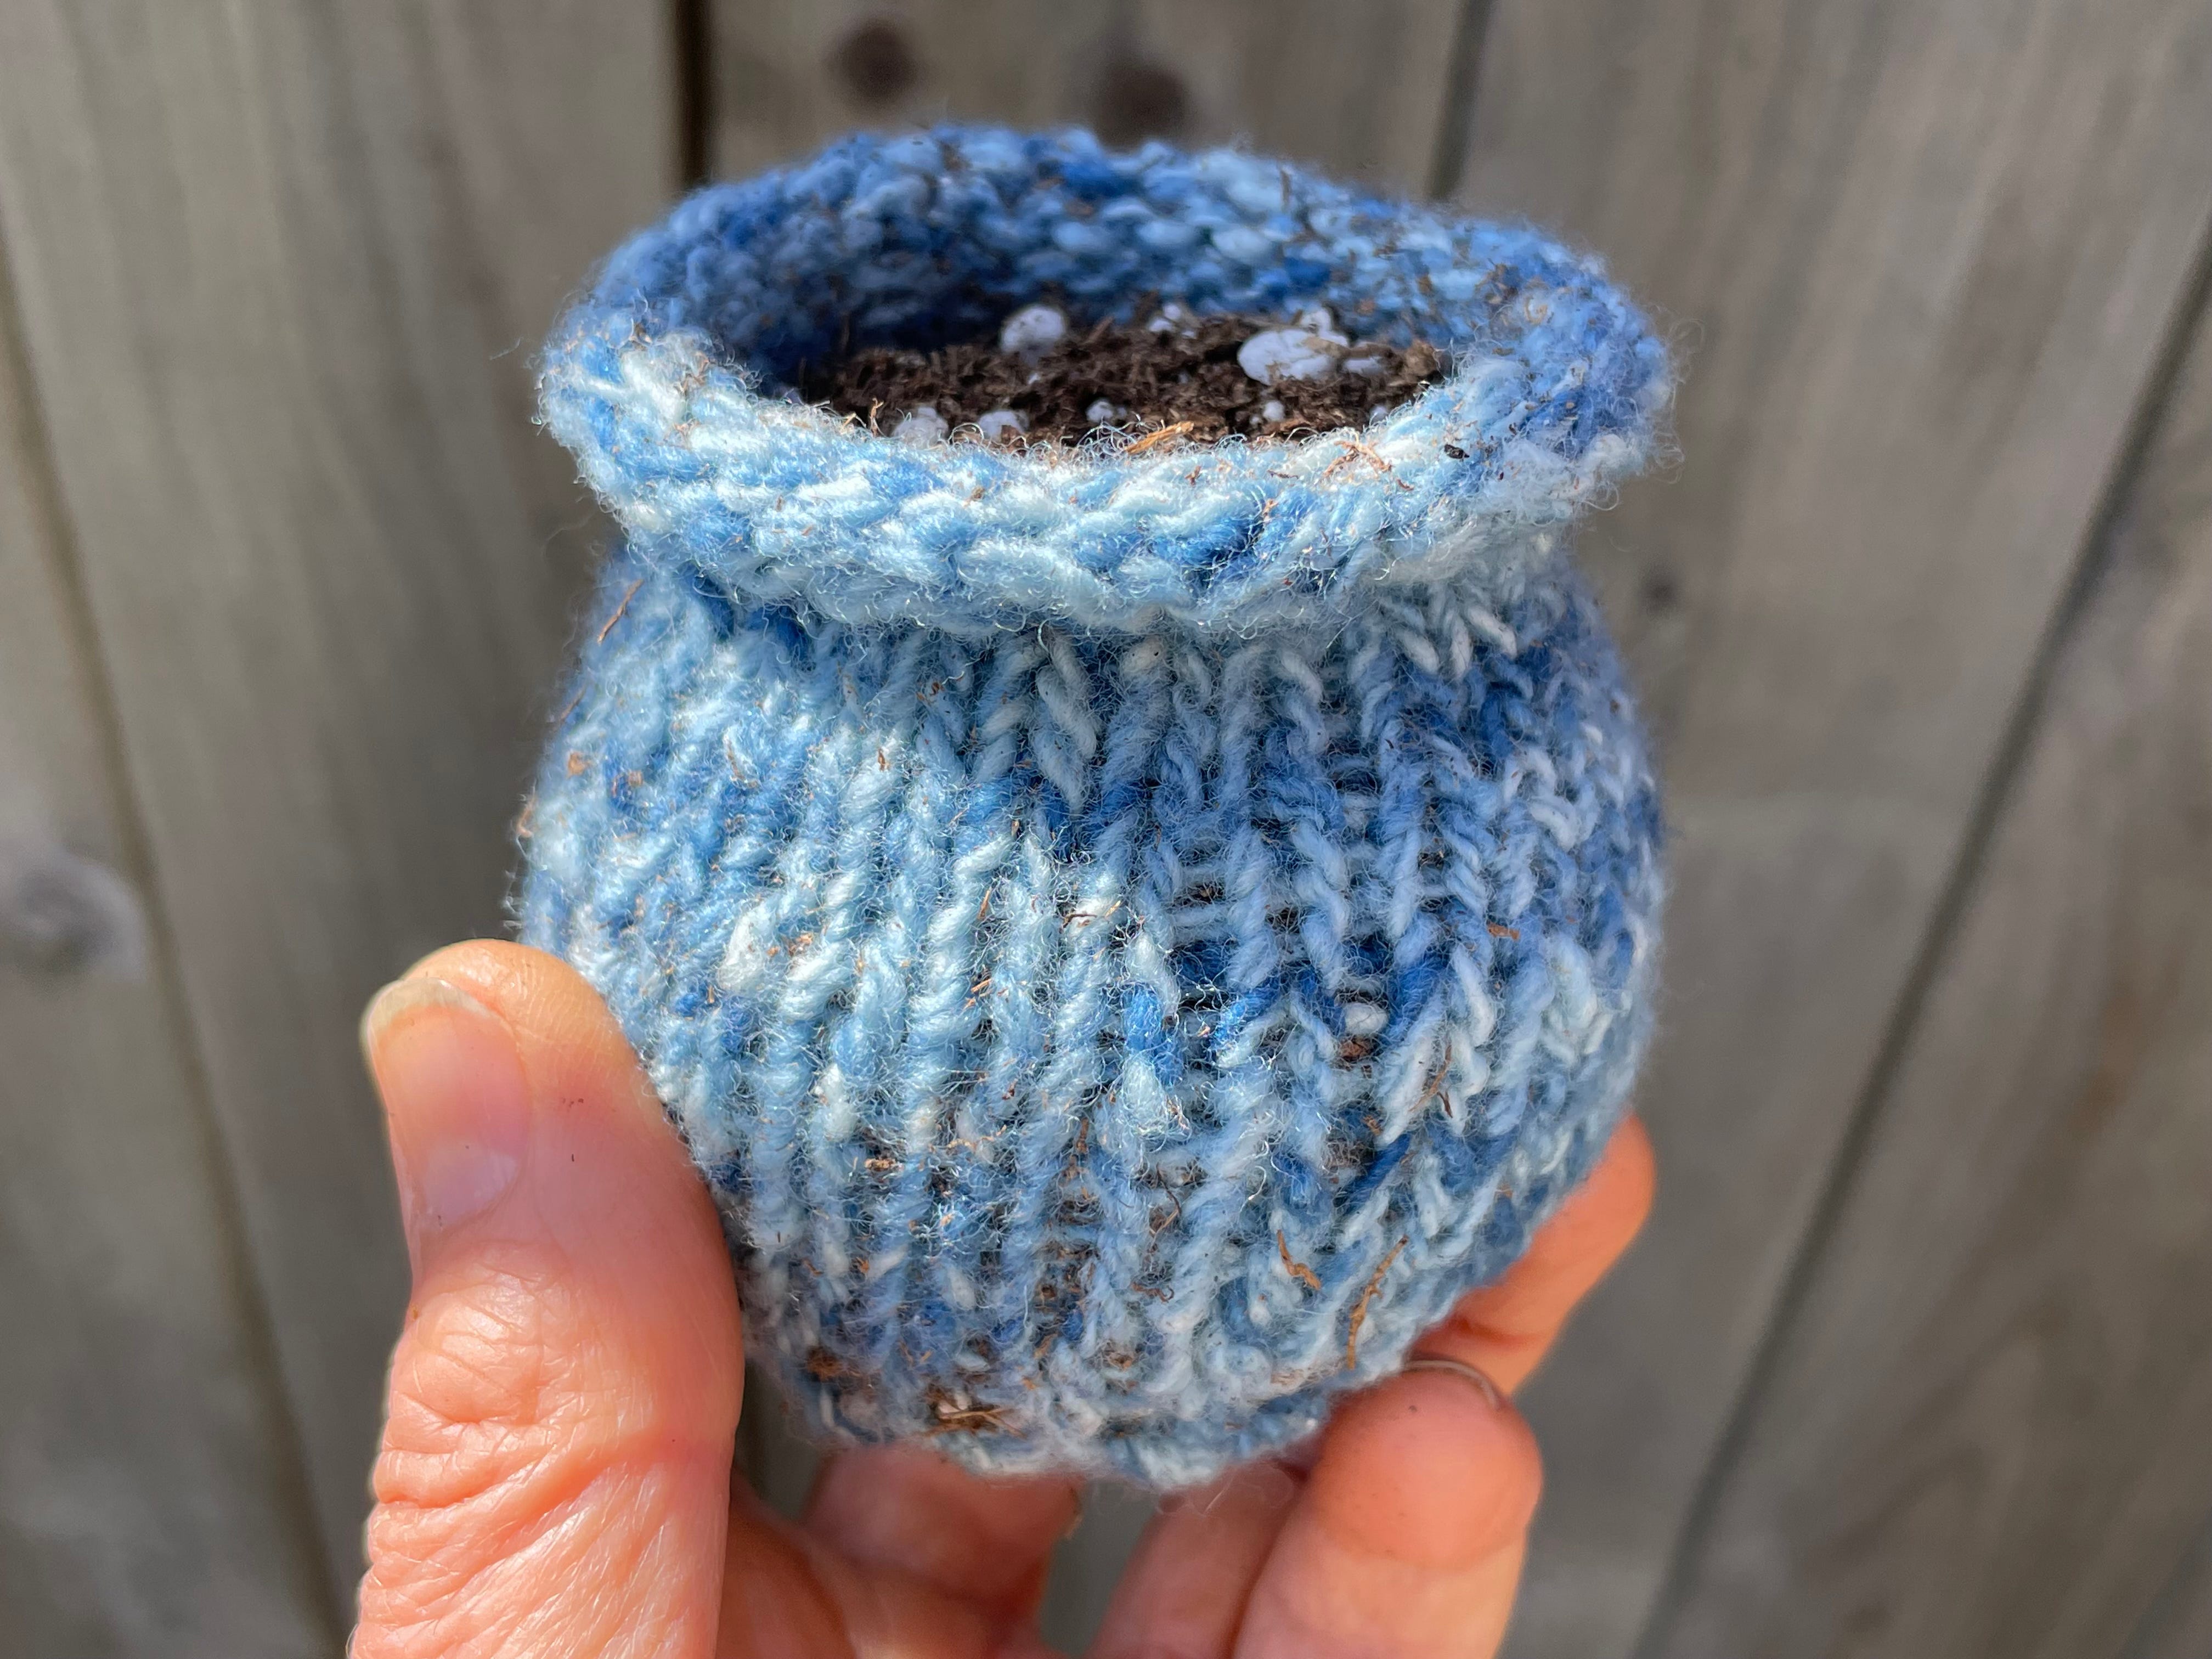
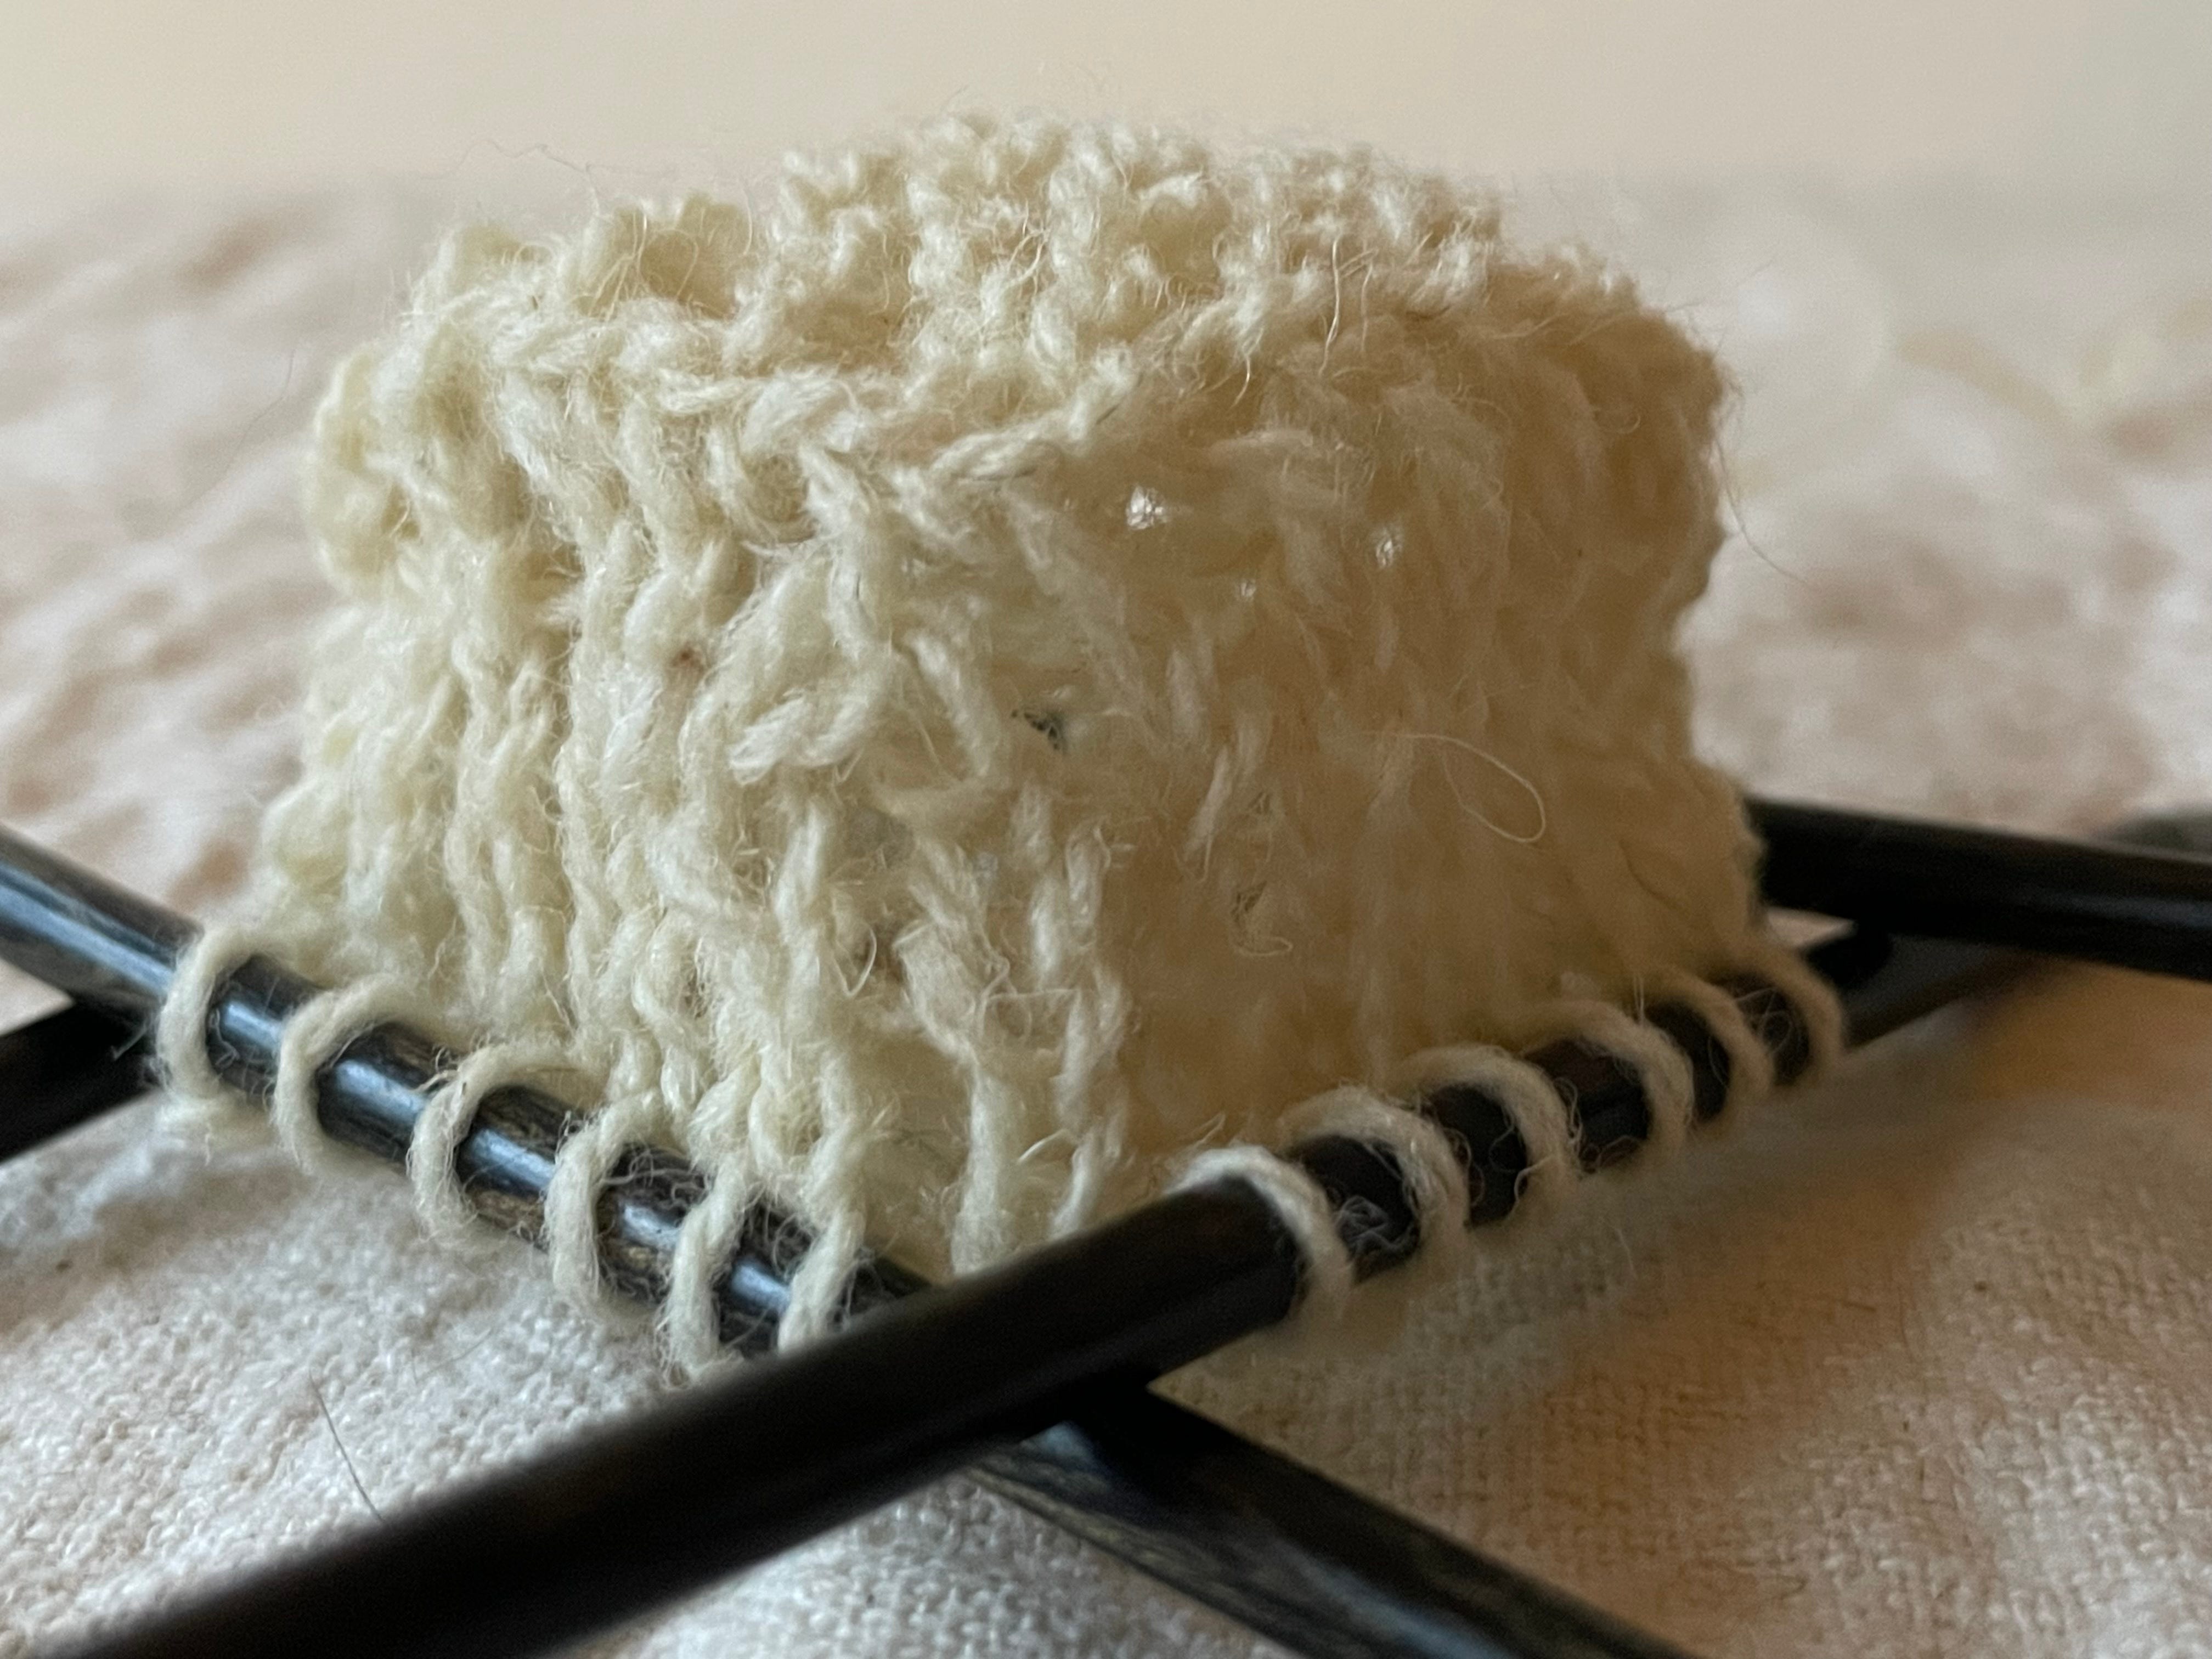
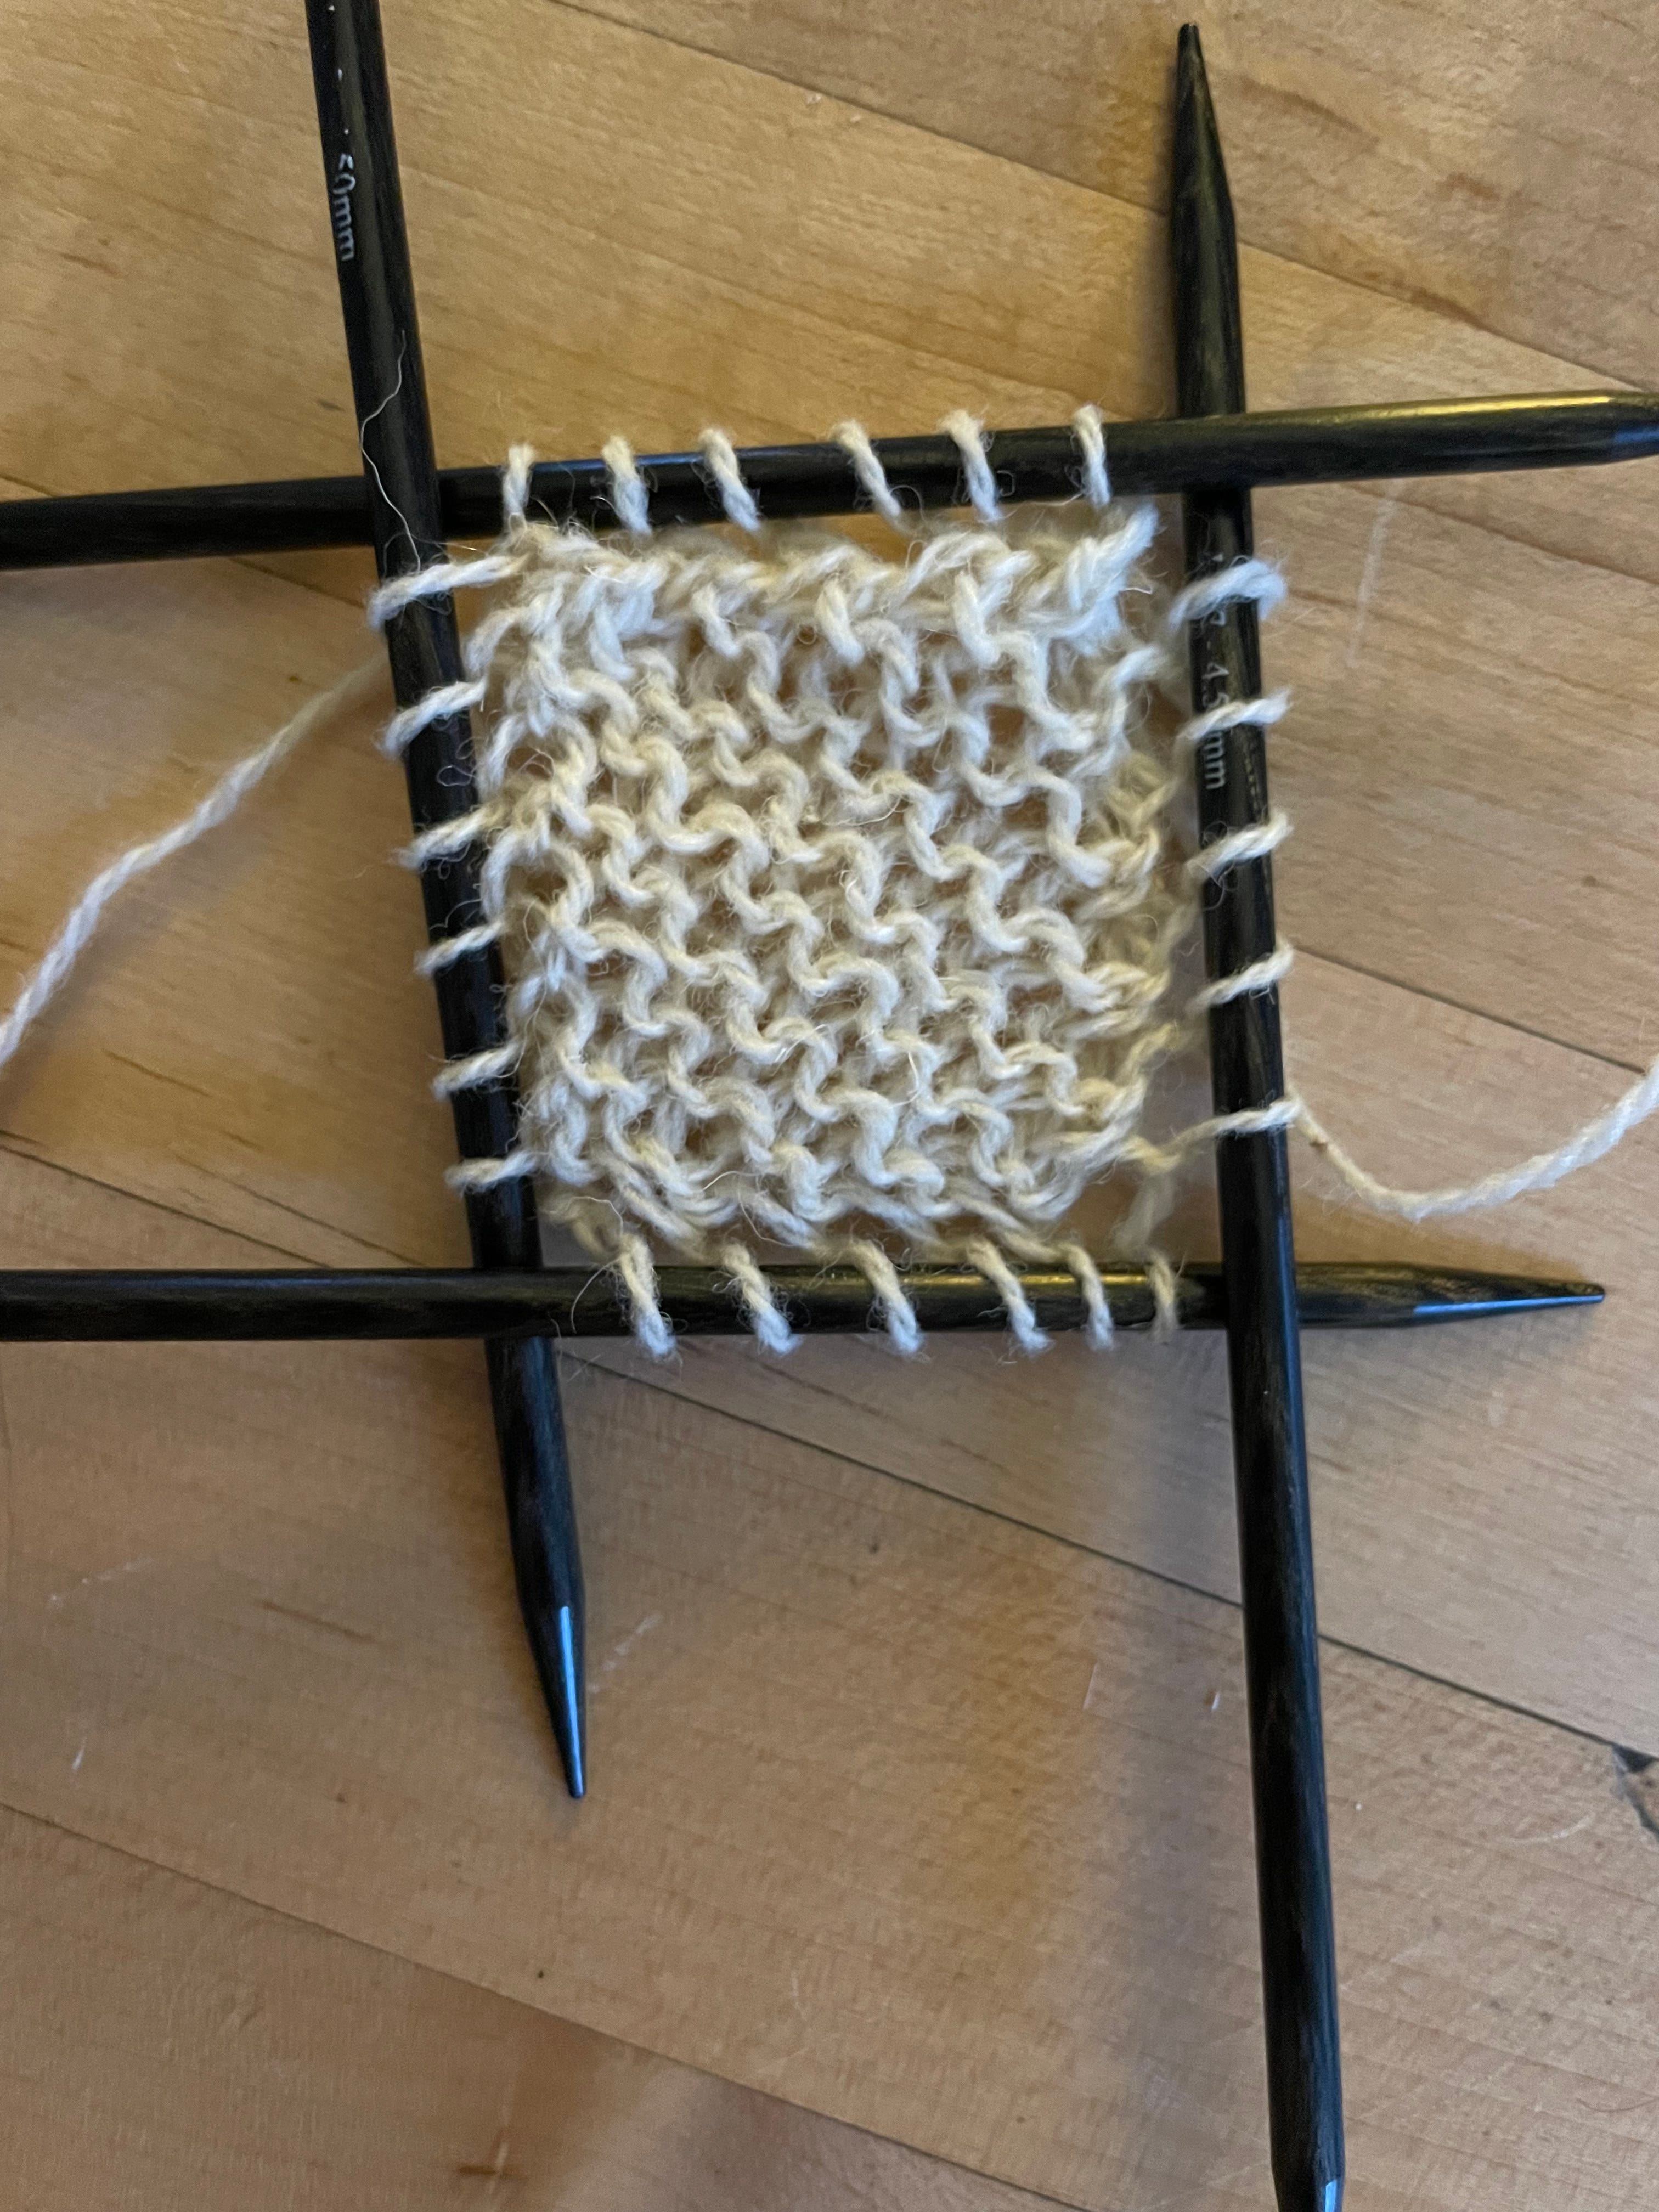
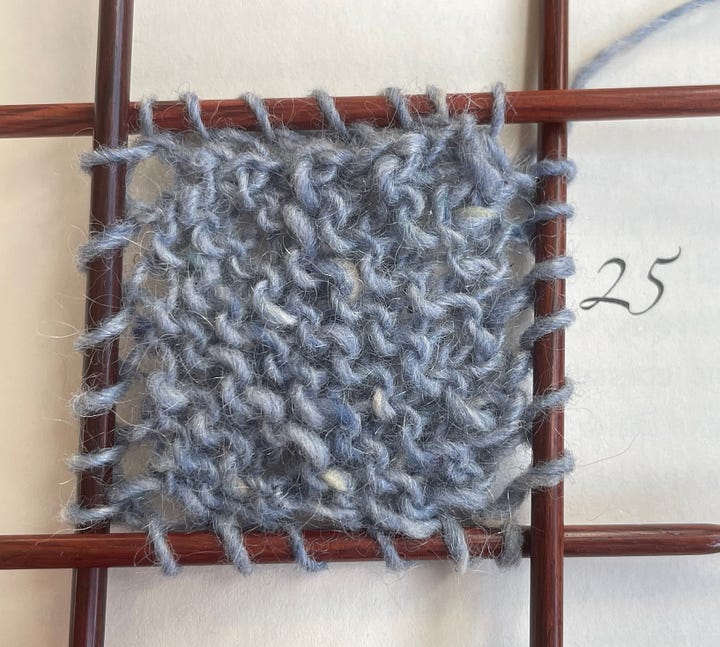
knit a bias square9
pick up stitches from the loops around the edge (add one stitch at each corner just because)
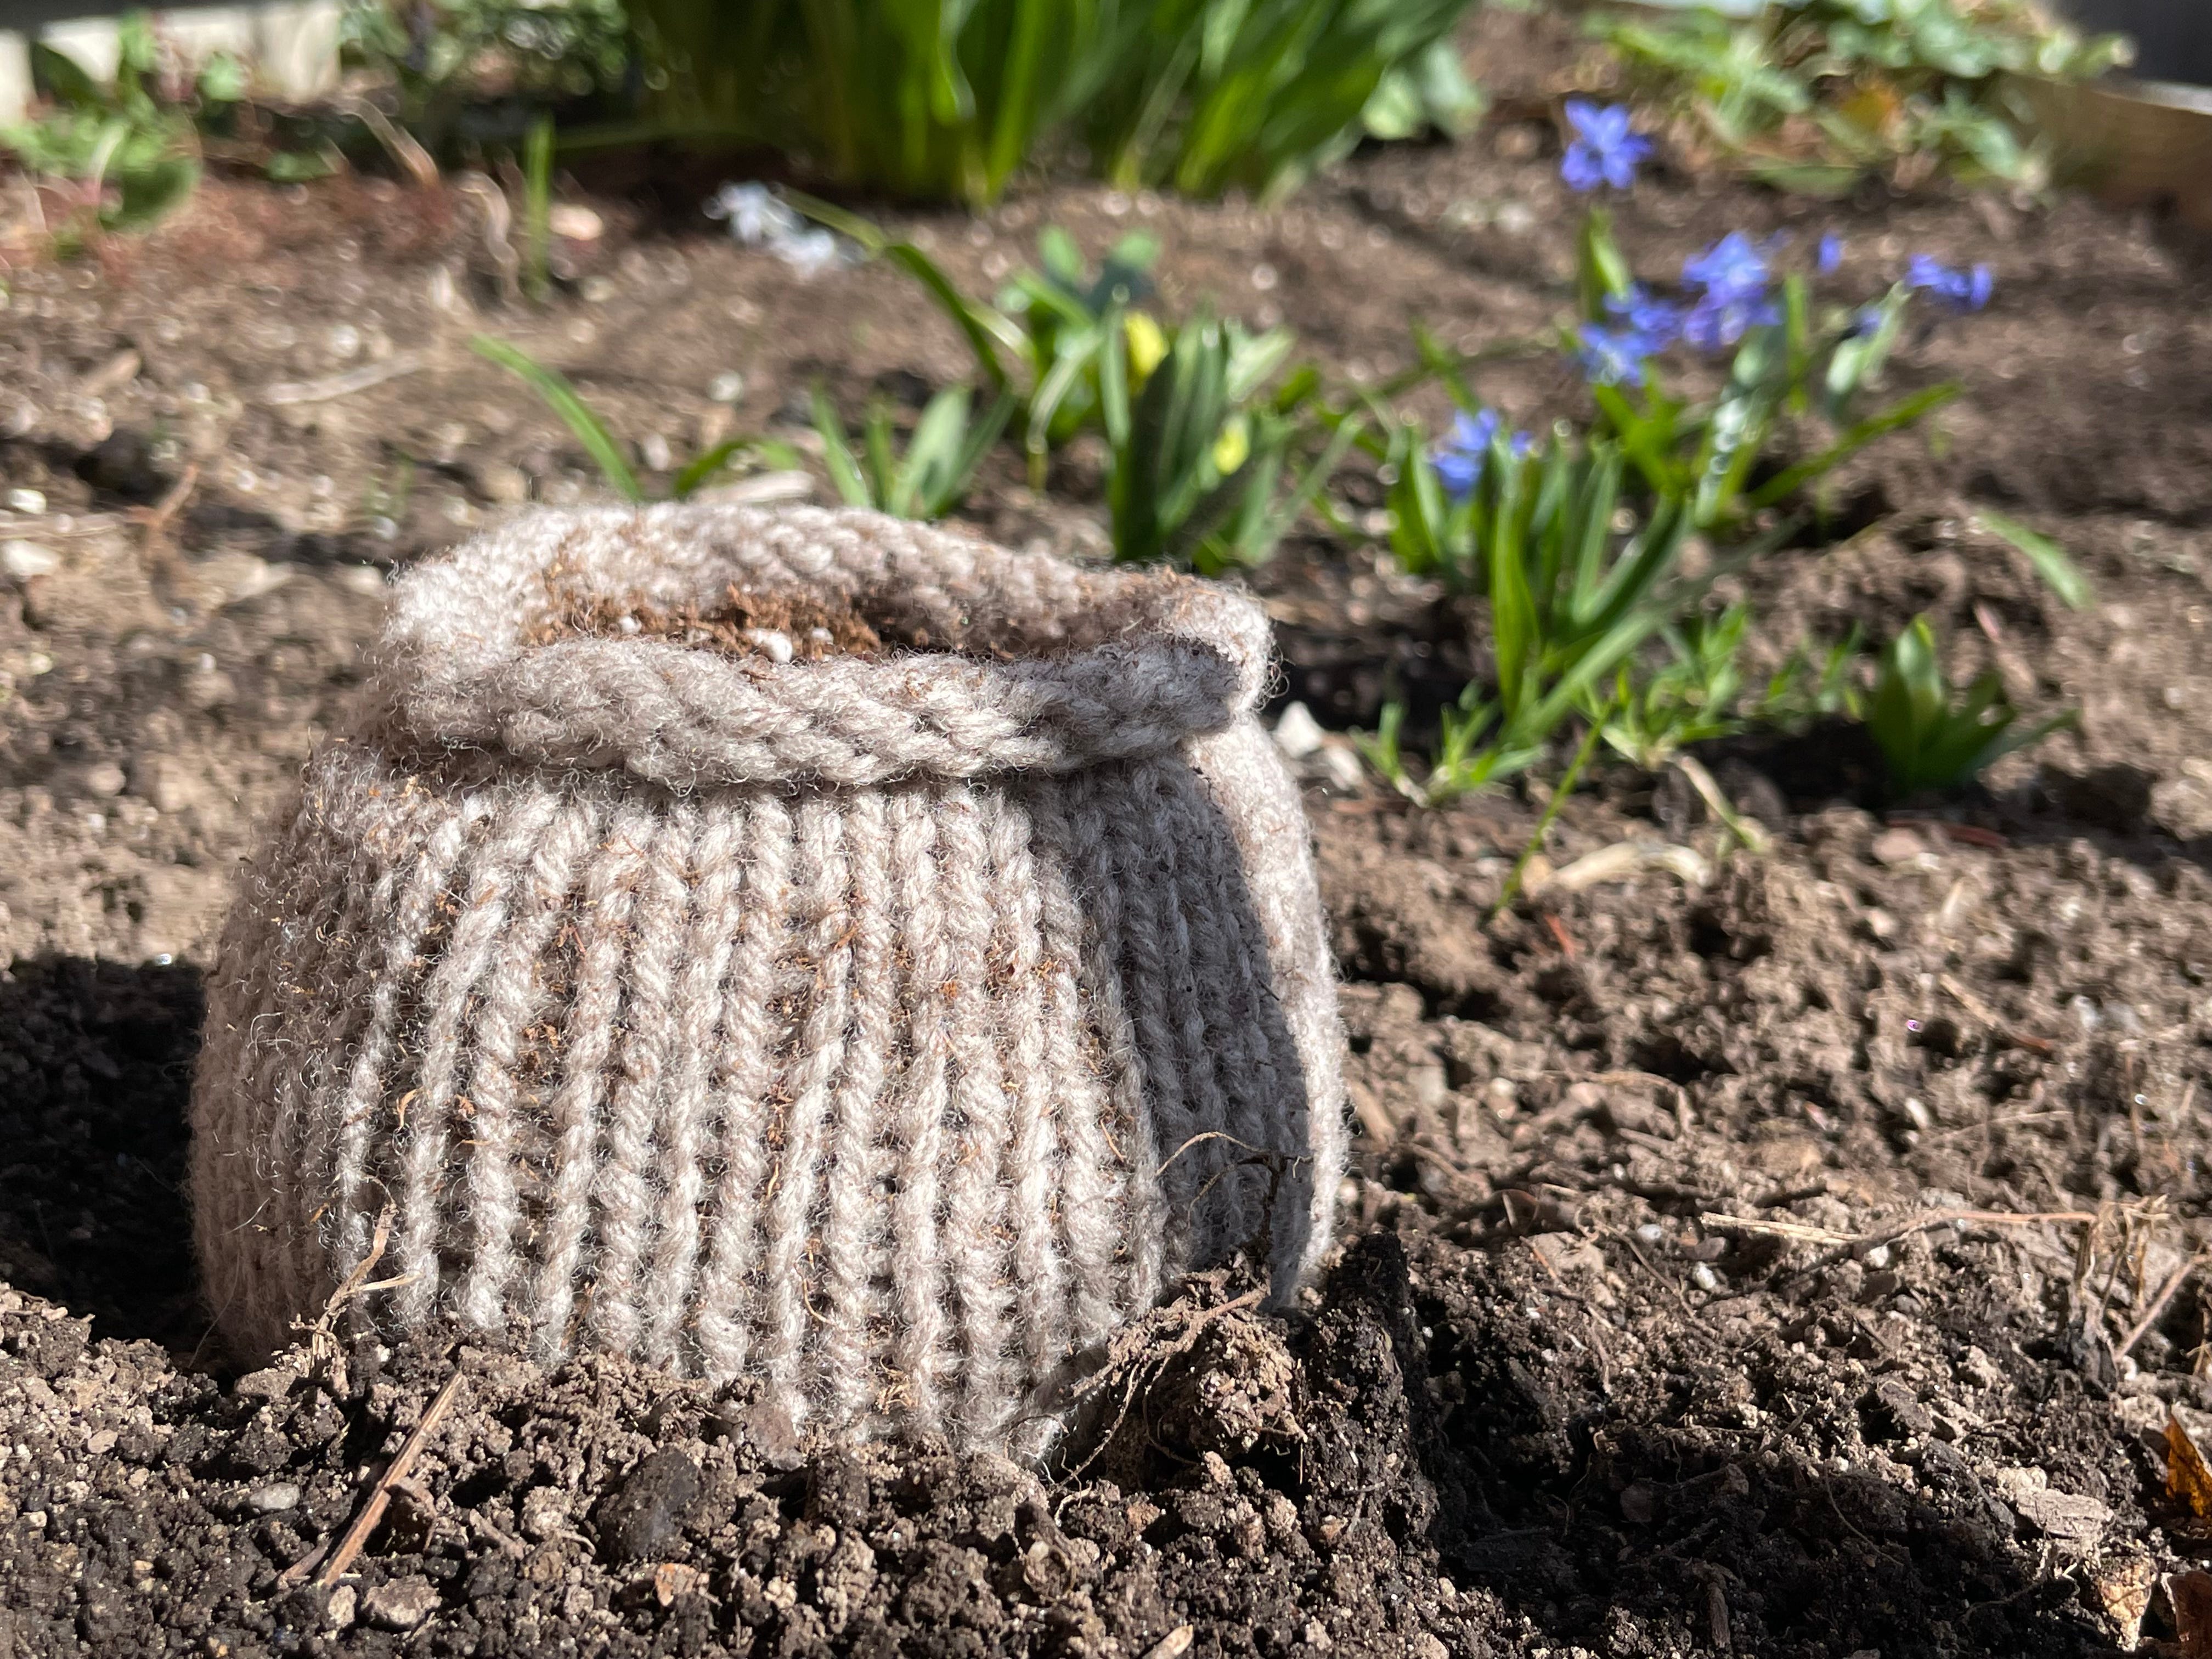
knit around and around till your floppy sack is as tall as you want it to be10

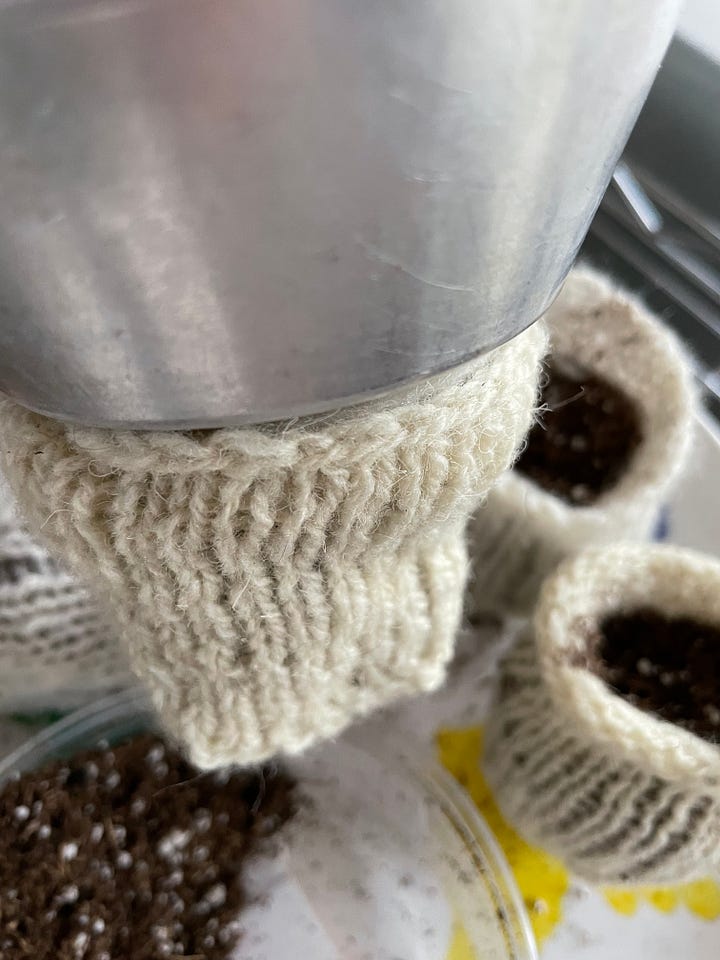
bind off and wash (gets rid of any spinning oils or loose dye in mill spun yarn)
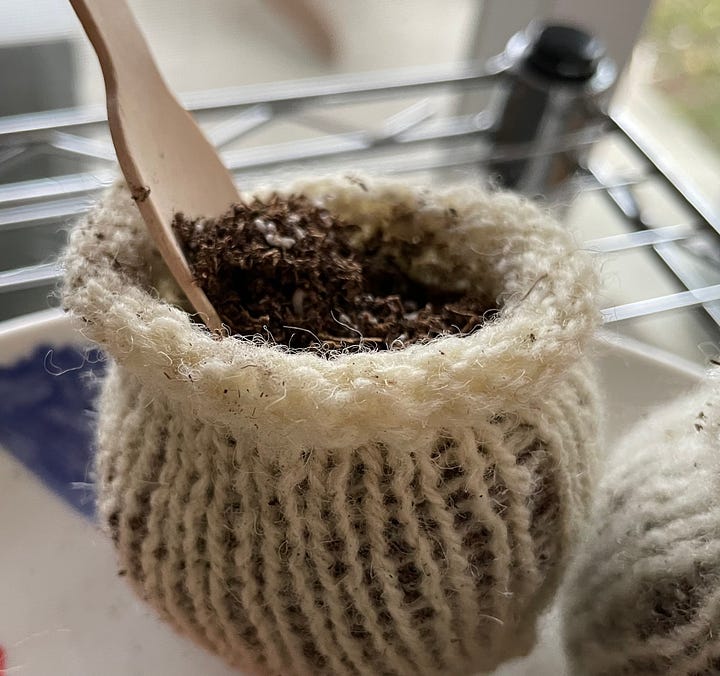
fill with soil to achieved your desired shape 11
plant seeds
water from the bottom and notice how beautifully the wool wicks the moisture as the bowls transform themselves from a nice collection of loops to plant-pots-on-the-job, ready to put down roots.

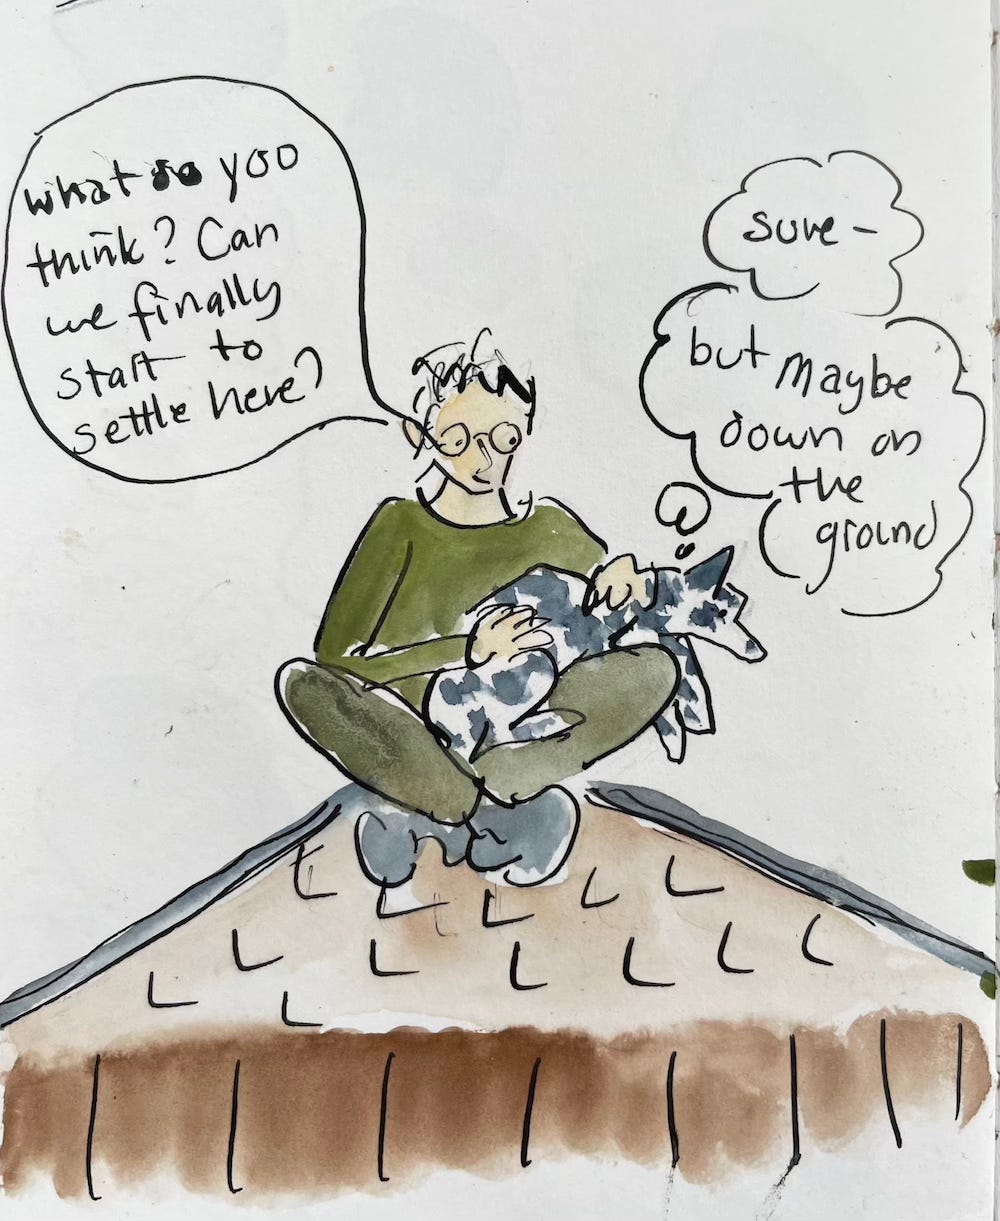
Which, come to think of it, is just what Beryl and I are trying to do as well.


Thanks wool, for showing us the way yet again.
Or “over the house” as the case may be….
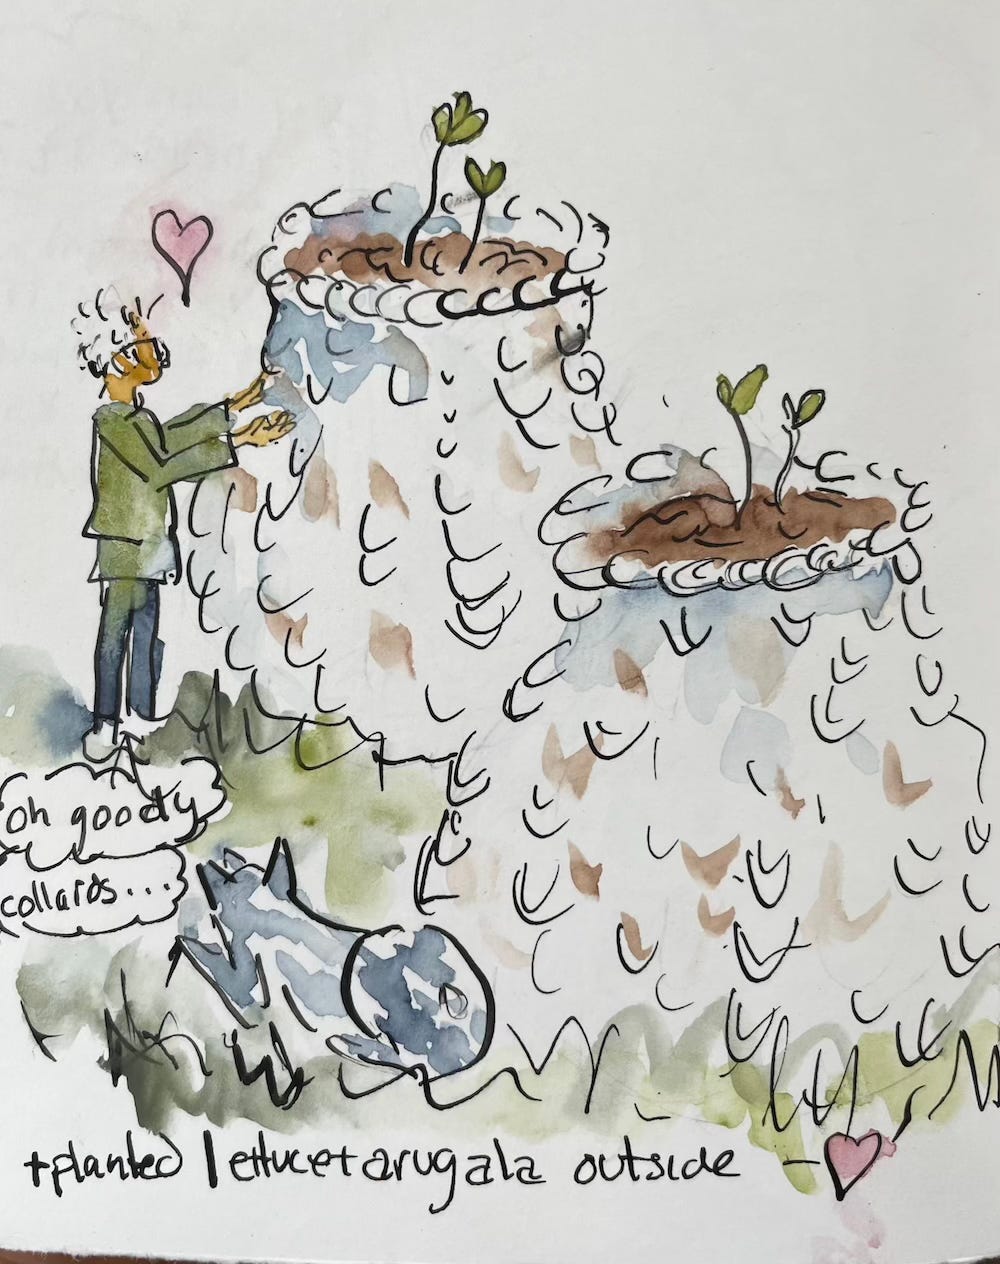
And it’s not that Collards are my favorite thing ever (these last few years I’ve grown them as much for the unbelievably sweet and indescribably delicious early spring flowers and raab as for their amazing summer leaves), but they were the first to poke their little heads out, followed shortly by Tulsi, and what’s not to love about such enthusiasm?
It also amuses me no end for while I fully intended to keep my gardening to an absolute minimum—at least for my first year in the new place—here I am with lettuce and arugula seeds already in the soil, busily wondering where I can tuck the collards, Tulsi other essential herbs (and one or two other summer staples I’d prefer to pick in my bare feet just before supper rather than buy at the farmers market, abundant as the local one is said to be). But of course as Anna Brones just wrote, the Promise of a Garden can be an irresistible and nourishing creative thing—and is proving stronger than the downsizing dreams of my mid-winter-madly-packing self.
A Montana source for Wool Pellets . They are, however, now being made in many places (more all the time), so check your region to save on shipping.
This edition of The Wool Wire from the amazing Wool Channel . Here are Clara’s links for purchasing them if you’re not a knitter: Made in the UK and imported into the US,
As you can see if you click the link above, the commercially made ones are knit (I assume with knitting machines), at a loose gauge with far finer yarn than the stash scraps I’ve been using (fingering to worsted weight, hand and mill spun), and I’m curious what effect both might have on the development of the roots and their ability to grow their way out of the pots and into the surrounding soil once they’re fully planted. My feeling is that as long a there are holes, all will be well, but we shall see.
Anyone else up for trying this? If you don’t knit, there is always crochet or nålebinding or…..?
100% wool only of course. No blends cuz who wants to add more microplastics to the soil? Of course knitted coffee filters would also work, or linen or cotton for you vegans and hot-climate knitters—but wool is apparently particularly nourishing.
I’m also paying attention to how the yarn is dyed. I did not, for instance, use some scraps I dyed with black walnut as these trees secrete a chemical called juglone that inhibits the growth of many (but not all) plants. I’ve no idea if the juglone shows up in the nut hulls (the source of the dye), or will persist through the dyeing process, but didn’t want to take the chance.
The light bowls are knit of milkweed and dogbane cordage, hand spun paper and hand spun linen, at a very loose gauge.
I’m a big fan of the bias square. What could be more fun/casually satisfying than starting a project with a single stitch and no gauge swatch? They show up in both A Sweater Somewhat Slanted and Square Bags That Look Round), and here is how I make them:
Make a slip knot. Increase (see steps 1-4 below) till the sides are as big as you want, then decrease until you’re back to one stitch. Or three in the case of these bowls as you can see in the photos above (you’re picking up the edge stitches anyway, so why get rid of them)?
YO, K1
YO, K2
YO, K3 (and so on until the sides are as long as you want.
YO, SSK, knit to the last 3 sts, K2 tog, K 1 (and so on until there are three stitches left
K3 tog (if you want to do something other than make a bag/bowl/pot)
The website linked above for the ones you can buy say that if you leave a little collar of knitted wool sticking above the soil when you plant them, it will repel slug and snails, so remember to allow for that.
At first I tried using my canning jar funnel to load them with dirt, but found that a spoon and my fingers worked better.
Whew! Sorry for this overabundance of footnotes. My enthusiasm got the better of me, I couldn’t resist sharing, and at the moment writing this here is easier and quicker than drawing a zine about it.
Speaking of which (apparently today there is always one more thing), I’m in the process of moving my zine/guide store to a new site and just now the guides are no longer purchasable at my current-soon-to-be-former website afieldguidetoneedlework. Thanks for your patience while I try to sort it all out. I’ll let you know when I’m back up and running!
So cool! I may try this with my indigo and woad seeds! Thank you!
I love your footnotes almost as much as I love your posts.....and, I may use some time in our upcoming winter so make some of the beautiful wee pots, so many thanks for the instructions!